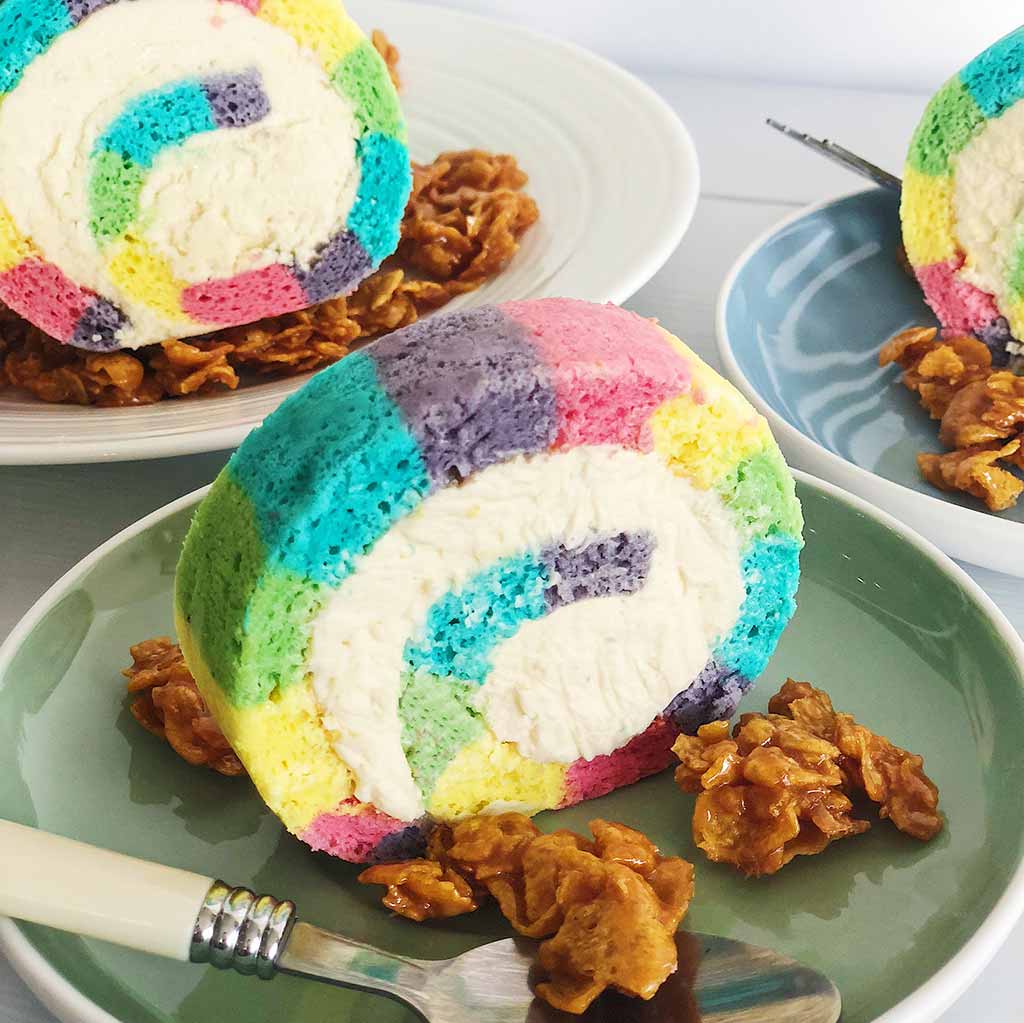
I'm on a roll here with the rainbows. I've shied away long enough from them - even at work, just because it involves so much more faffing (five times the mixing, five times the washing up, five times the baking, you get the drift) but having recently experienced what an absolute joy it is to slice into one of them we HAD to have a real rainbow cake collection for our customers, despite all the extra effort.
I love seeing my rainbow cake recipe being tried out by our followers - so much fun to share and see your creations. If you wanted to take up your rainbow cake-ing up another notch here's my rainbow cake roll step-by-step recipe. I've broken down the steps so that it minimises washing up and faffing and I've also added the recipe for cereal milk buttercream that is such a dream with this cake roll as you'll be giddy like a toddler on a sugar high.

But you can use any buttercream of your choice, as long as it's of piping consistency, or if you'd really like to shave off time, ready-made buttercream style icing will do the trick.
Quick Summary:
- Total Time: 60 min
- Difficulty: Moderate
- Yields: 1 Swiss roll (serves 8)
-
Key Tips:
- Use gel food colouring for vibrant colours
- Pipe batter in order (pink → purple → blue → green → yellow) for less mess
- Chill roll before slicing to avoid cracks
- Best Part? Looks incredible & tastes nostalgic!
Rainbow Roll Cake Sponge Recipe
You'll only need 1 baking tray for this recipe but you'll also need quite a few disposable piping bags and clean bowls. This recipe is based on a Japanese chiffon sponge by Rice n Flour.
Ingredients
4 eggs (medium), separated into yolks and whites
20g caster sugar - first measure
40ml milk
40ml oil (vegetable or any other neutral oil)
1/2 teaspoon vanilla extract
30g plain flour, sifted
30g corn flour, sifted
Salt, pinch
1/3 teaspoon cream of tartar
60g caster sugar - second measure
Gel paste/liquid food colouring (the runny pastes are better for this recipe eg: Dr Oetker)
Method
1. Preheat the oven to 160 degrees celsius. Prepare a baking tray with parchment paper - cut the parchment to size with a spare inch on either side, crease along the base edges of the tray and cut out the corners so the parchment paper fits the tray well. Grease the tray with some butter or shortening and line the tray with the prepped parchment paper.
2. Whisk the egg yolks and the first measure of sugar, 20g, together till light in a mixing bowl.

Add the milk, oil and vanilla in next and whisk till well combined. Tip in the flour and corn flour and gently whisk till mixed in and no visible lumps remain.

3. In a clean stand-mixer bowl with whisk attachment, break up the egg whites by whipping on medium speed till just frothy. Add in the salt and cream of tartar and whisk on high speed whilst gradually adding the second measure of sugar until you have a glossy meringue with stiff peaks.

4. Add half of the meringue to the wet batter and whisk gently to combine.

Then fold in the remaining meringue using a rubber spatula. Be careful not to overmix or fold at this stage as you want to keep all that precious air in!

5. This is the part where you have to grab those extra bowls - you'll need 5 in total to divide the batter evenly into. Once you've divided them, put half a teaspoon (or approx. 4-5 squeezes/drops) of yellow, green, blue, purple and pink food colouring IN THAT ORDER into each bowl. This order is important because it will save your sanity in the next step.

6. With a rubber spatula, we are going to gently fold the food colouring into their batters in the following order:
- Yellow - gently fold to mix in the colour and scrape spatula against the lip of the bowl
- Green - using the scraped spatula, gently fold and scrape the spatula again when done
- Blue - repeat using the scraped spatula and scrape again when done
- Purple - repeat and scrape
- Pink - repeat and scrape

If you follow this order, you'll see there is minimal colour contamination between the batters and you're saving yourself a lot of washing up (or the need for 5 spatulas!)
7. Grab 5 disposable or reusable piping bags and pour the batters into each bag in the following order - pink, purple, blue, green, yellow (you can use the same spatula, just keep scraping it clean). Snip off 1cm at the tips and get ready to pipe into the prepared baking tin. This next step goes like in the speed of lightning.
8. Start with piping along the short side with the pink batter, followed by purple, blue, green and yellow. As the batter is light and fairly runny you will have to be light handed with the piping bags and have a steady pace. Don't worry if you have some wobbles, it's fine - if you have any big wobbles you can carefully scrape up the excess and spoon it back into the piping bag and carry on.

9. Repeat the piping till you reach the end of the tray. You'll have quite a bit of batter left - pipe the remaining pink batter over the piped pink lines, followed by purple batter over the purple lines, and then the same with blue, green and yellow.

10. Tap the baking tray against the surface a few times to let any air bubbles escape and then bake in the oven for 15-20 minutes or until the sponge starts to brown on the surface and is springy to touch.

11. Once baked, retrieve from the oven using oven mitts or a tea towel and place the tray on a heat resistant surface. Cut another piece of parchment paper to size and place over a wire rack. Place the lined wire rack upside down over the baking tray and flip over to release the sponge. Peel back the parchment paper on the base of the sponge immediately and remove it from the other side too so the sponge starts cooling on the wire rack. This step is important so you don't have discolourations on the sponge from trapped moisture.
12. Once the sponge is cool, which won't be long as it's fairly thin, trim the edges - it is ready to have a layer of buttercream on and get rolling!
Quick Buttercream (for lazy bakers)
- 250g butter, 500g icing sugar, 2 tbsp milk, 1 tsp vanilla. Beat until fluffy.
I've popped a speedy bog-standard buttercream recipe above, but the real deal (if you have time) is below.
Cereal Milk Buttercream Recipe
This Ermine* buttercream recipe, inspired by Milkbar, is fairly involved, long and laboured in comparison to most buttercream recipes but I love the combination of the rainbow roll and the cereal milk flavour as it's just so fantastically juvenile in the very best way. If you're short on time, or CBA, you can use any other frosting or grab a ready-made one to spread after giving it a quick whip.
*Ermine is a style of buttercream using a roux, ie milk and flour, base. Not a furry animal.
Ingredients
100g cornflakes
800ml whole milk
30g brown sugar
1/4 teaspoon salt
30g plain flour
1/4 teaspoon salt
225g butter
150g caster sugar
1/2 teaspoon vanilla
Method
1. Preheat the oven to 150 Celsius. Spread the cornflakes evenly on a baking tray and toast in the oven for 8-10 minutes until it starts to darken in colour. Remove from oven and let cool completely (doesn't take too long!).
2. Pour the milk into a deep bowl or pitcher and mix the toasted corn flakes in well and let steep at room temperature for at least half an hour (an hour is better!). After it has steeped, use a sieve to drain the cereal milk into another bowl and gently press the corn flakes down using the back of a ladle. Don't press too much because you don't want much of the mush to pass through. Keep the milk, ditch the corn flake mush. Stir in the brown sugar and 1/4 teaspoon salt until well dissolved - have a taste, you'll be happy.
3. In a small saucepan, whisk 375ml of the cereal milk with the flour and 1/4 teaspoon salt over a medium heat till well combined. Keep whisking till the mixture thickens into a gloopy paste. Transfer it to a bowl and cover the top with cling film touching the surface of the mix so it doesn't form a skin and place in the fridge to chill until fully cooled (this takes about 45 minutes).
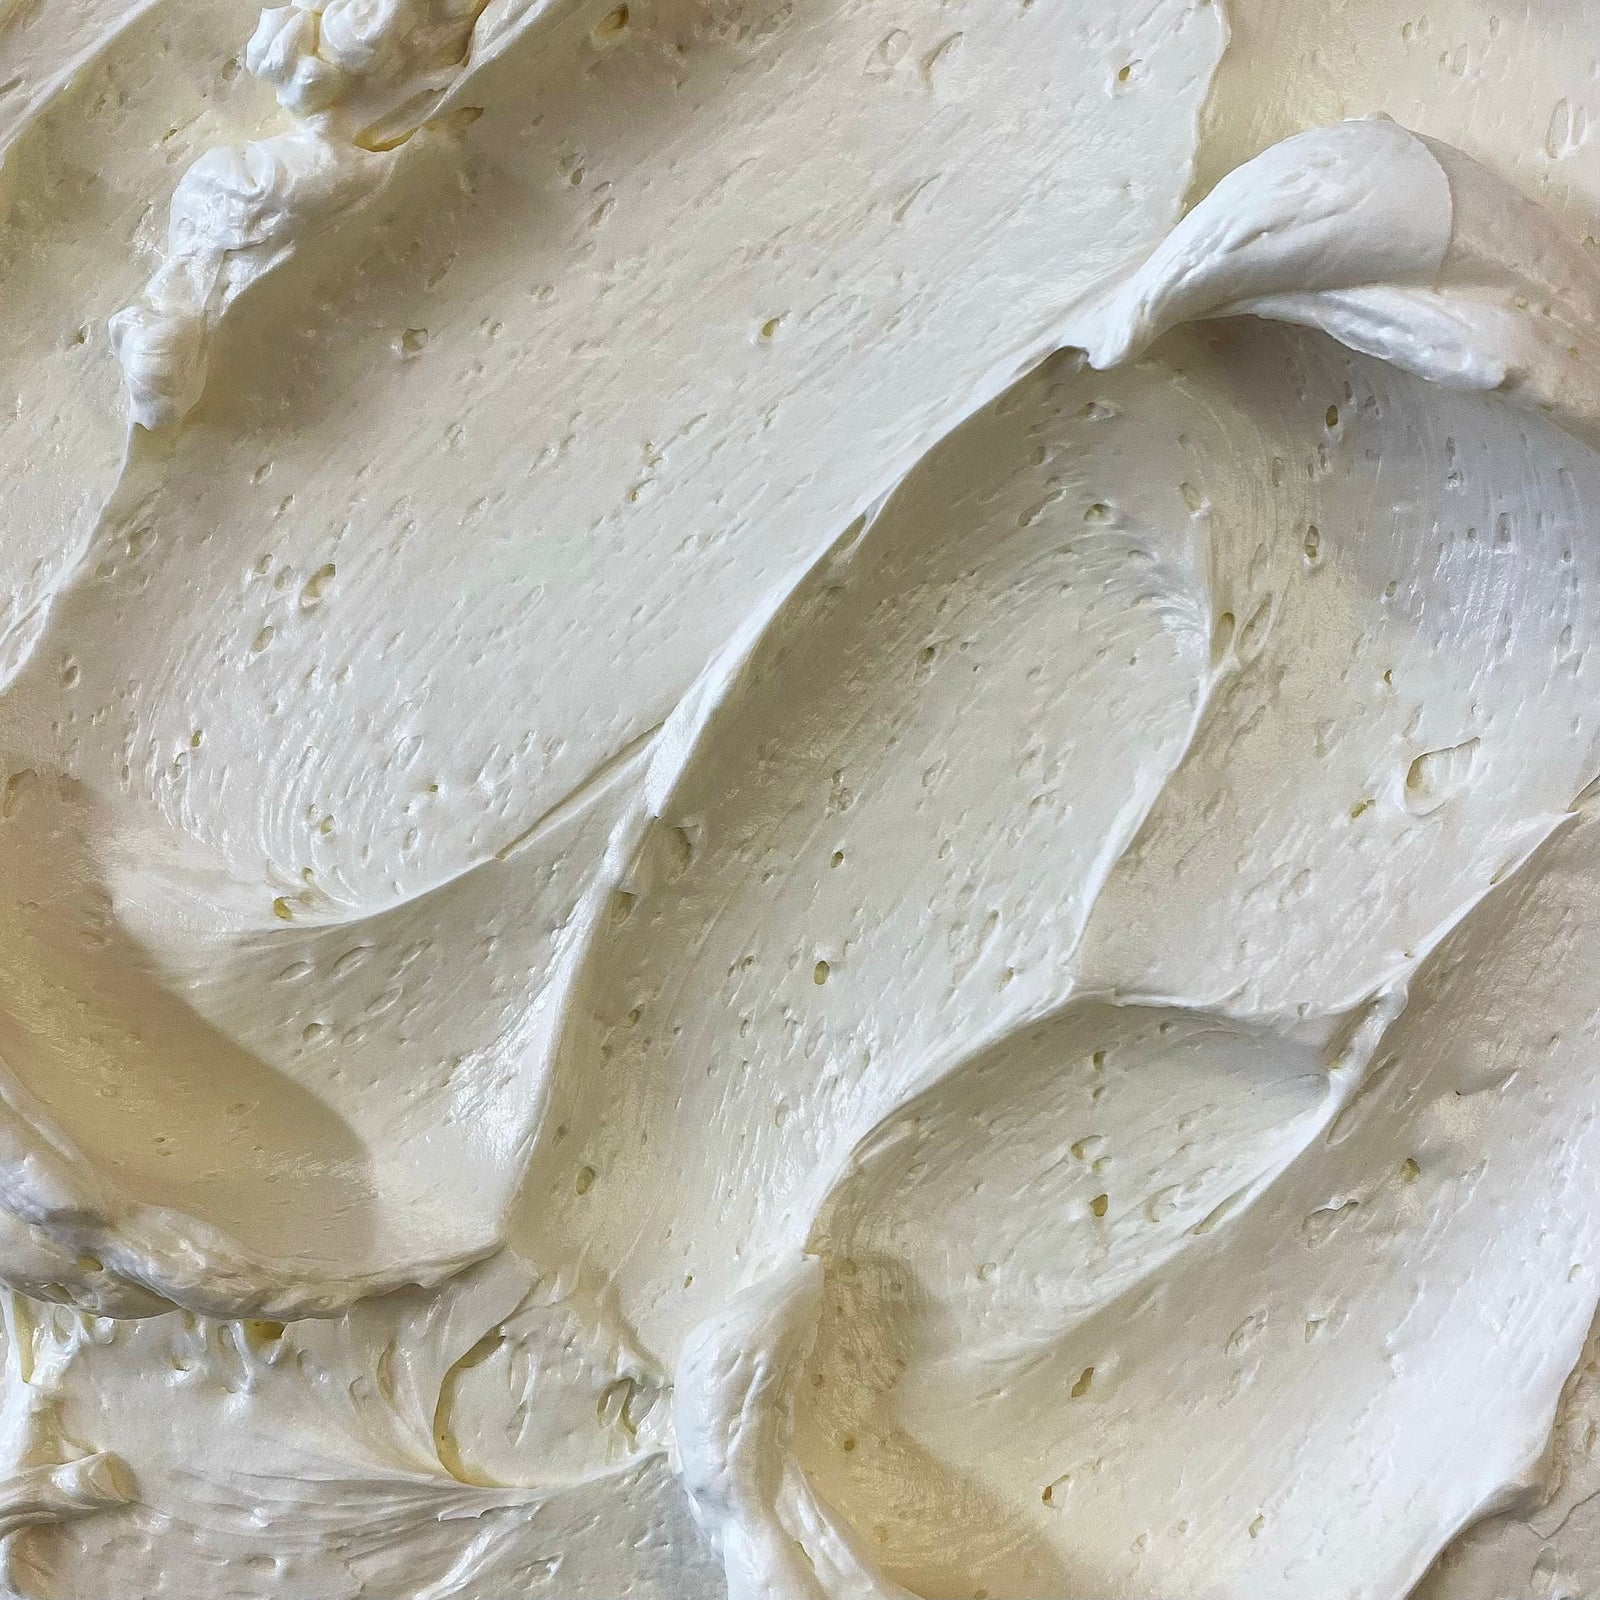
4. In a stand-mixer bowl, beat the butter and sugar together till there is no more grit from the sugar granules and then add the chilled cereal milk mixture and vanilla and whip till you have a fluffy buttercream.
Decorate the Rainbow Cake Roll
Ingredients Optional
Sprinkles
Corn Flakes
Method
1. Spread an even layer of the buttercream on the "duller" side of the rainbow roll sponge. You could also mix in some sprinkles in the buttercream if you'd like.

2. Take the short side, roll up the sponge with even-handed pressure (not too tight so the buttercream starts spilling out, and not too light so the roll doesn't hold). Wrap the roll in cling film and place in the fridge to chill and set for 20 minutes.

3. Slice and serve (if you're fancy, on a bed of caramelised corn flakes...nomnomnommmm)

There you have it. The faffiest freakin' Swiss roll like there ever was. I'm not sure how many of you will dare to embark on this as it is more laboured than your usual bish-bash-bosh layer cake but if you follow my steps carefully I promise you'll be breezing through and be SO CHUFFED with the end result, just like I was.

Your Turn to Roll!
Tried this Rainbow Roll Cake? I NEED to see it! Tag me @angesdesucre #angesdesucre and show off your slice-of-art. If you have questions (or your roll turned into a rainbow disaster), drop them in the comments below!
Lots of love,
Reshmi


Yvonne Parks
April 04, 2022
What is caster sugar & why do you use corn flakes. Would this look ok with blue and yellow? That my nieces wedding colors.