Yeah, Unicorn, budgey up, you had your time in 2016. The Mermaids are shimmying in their glistening glory and taking 2017 by storm it would seem. There's mermaid hair (swoon!), mermaid blankets (errr...most impractical item of clothing ever - think a glammed up potato sack), mermaid this mermaid that, and now inevitably it's the next Insta-cake phenomenon.
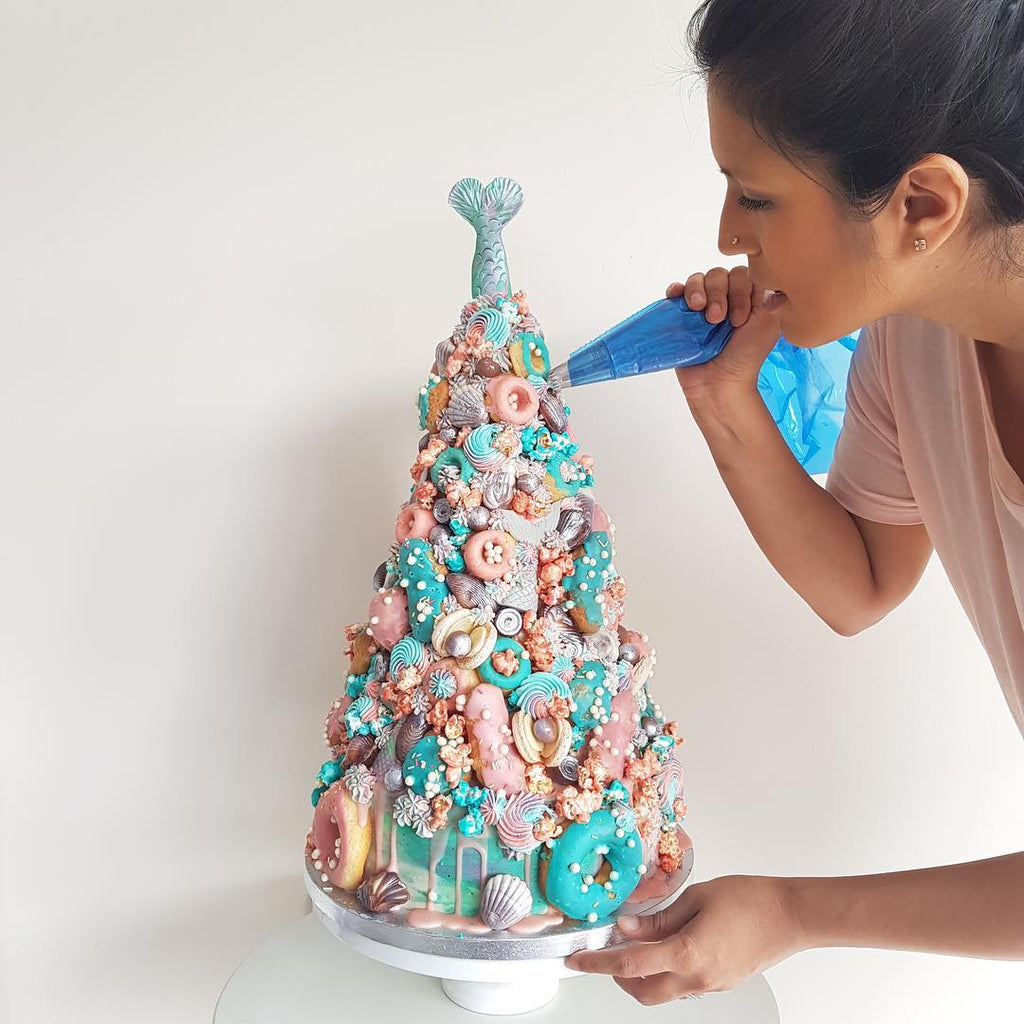
Our Mermaid croquembouche made a splash last month and I can sincerely say, as the biggest mermaid sceptic, it's breathtaking. Layers and layers of vanilla sponge cake, frosted in smooth and silky Swiss meringue buttercream in tones of aqua and coral, bathed in pink chocolate ganache drip and embellished with choux puffs and profiteroles, hazelnut seashell pralines, macaron oysters, fondant fishtails, candied "coral" popcorn, piped buttercream starfish and seashells, and baked buttermilk doughnuts. It's literally everything I'd dive right into.
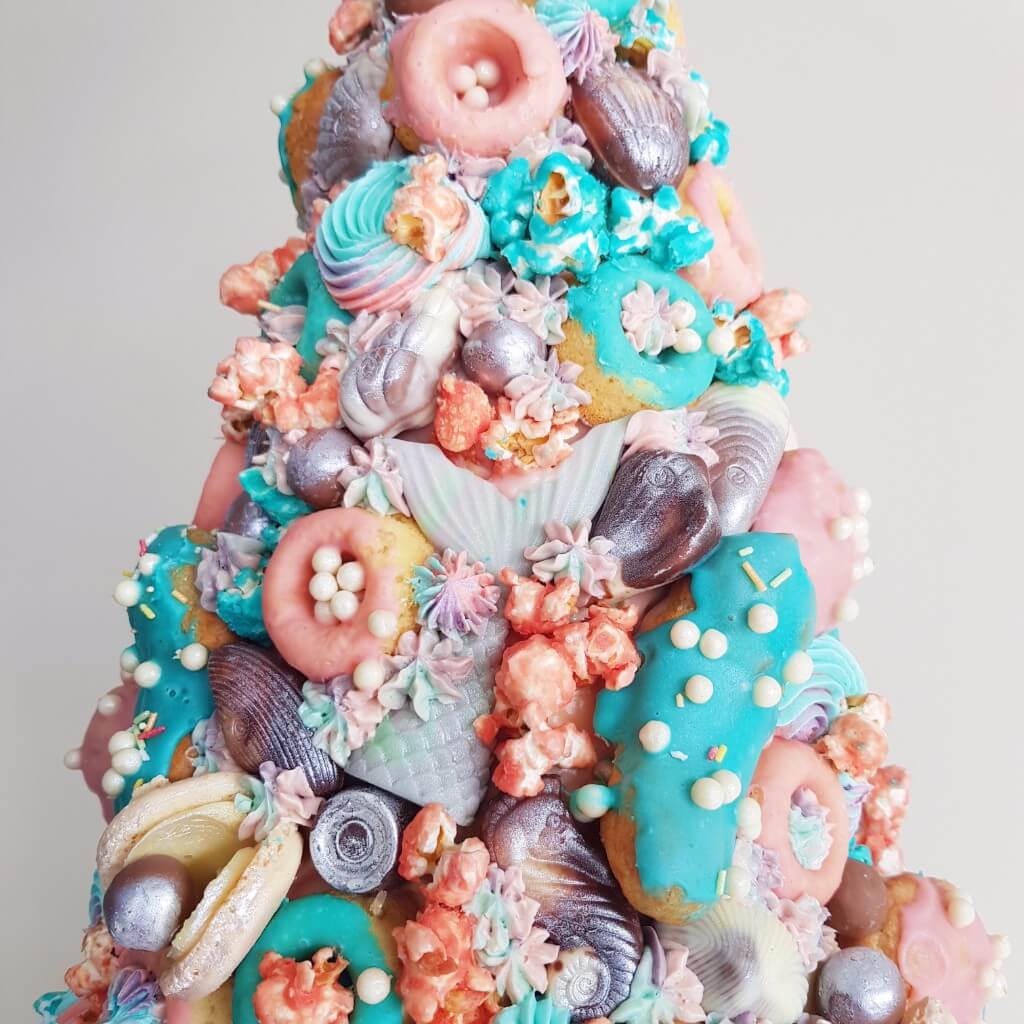
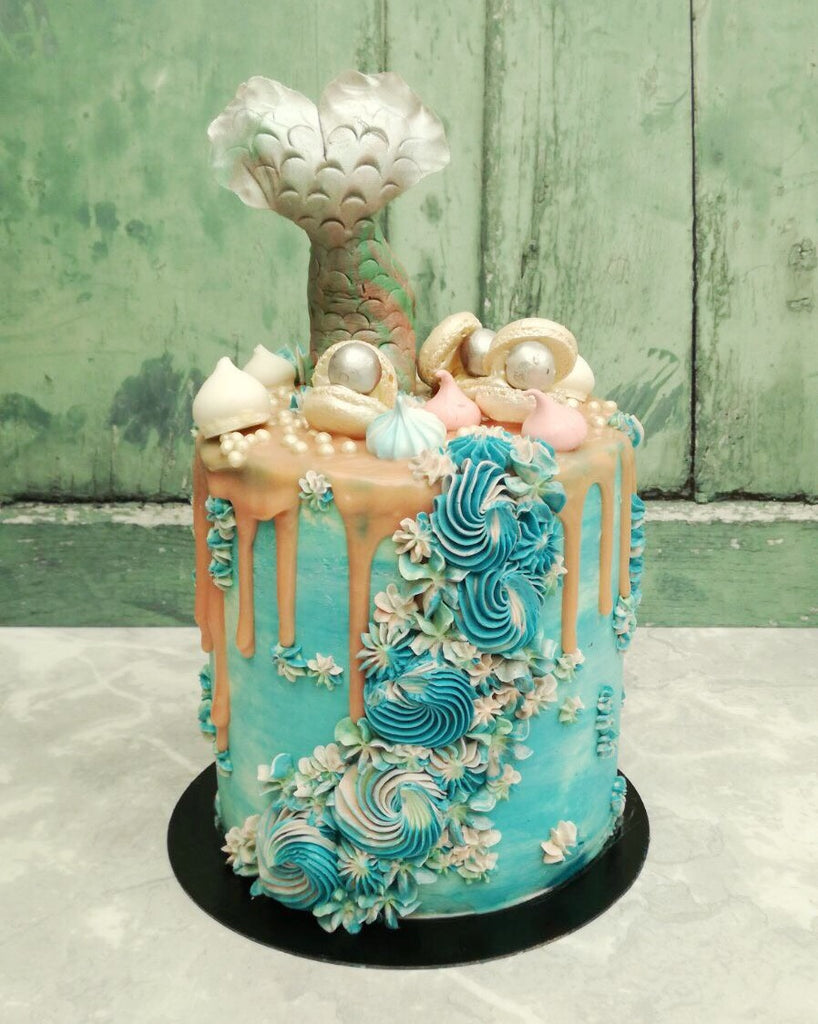
As the mermaid trend is so big, we've got another version of a mermaid birthday cake that isn't as elaborate as the croquembouche but is stunning in its own right.
And if you can't get your fins onto one of these mermaid numbers, I've got a recipe right here that you can create in the comforts of your own home. The results are showstoppingly fabulous and no one would believe you didn't buy it in! I'll hold your hand throughout the process, start-to-finish, with step-by-step photos and easy instructions and it'll all turnout swimmingly. There's also scope for free-styling with the decor so you can stamp your own style on it!
Mermaid Cake Recipe
Mermaid Tails
1 tennis ball sized amount of fondant
Gel Paste colours in purple, blue, green, pink (I like Sugarflair)
Set of mermaid tail moulds (available from Amazon)
Edible Silver lustre spray (PME or Dr Oetker)
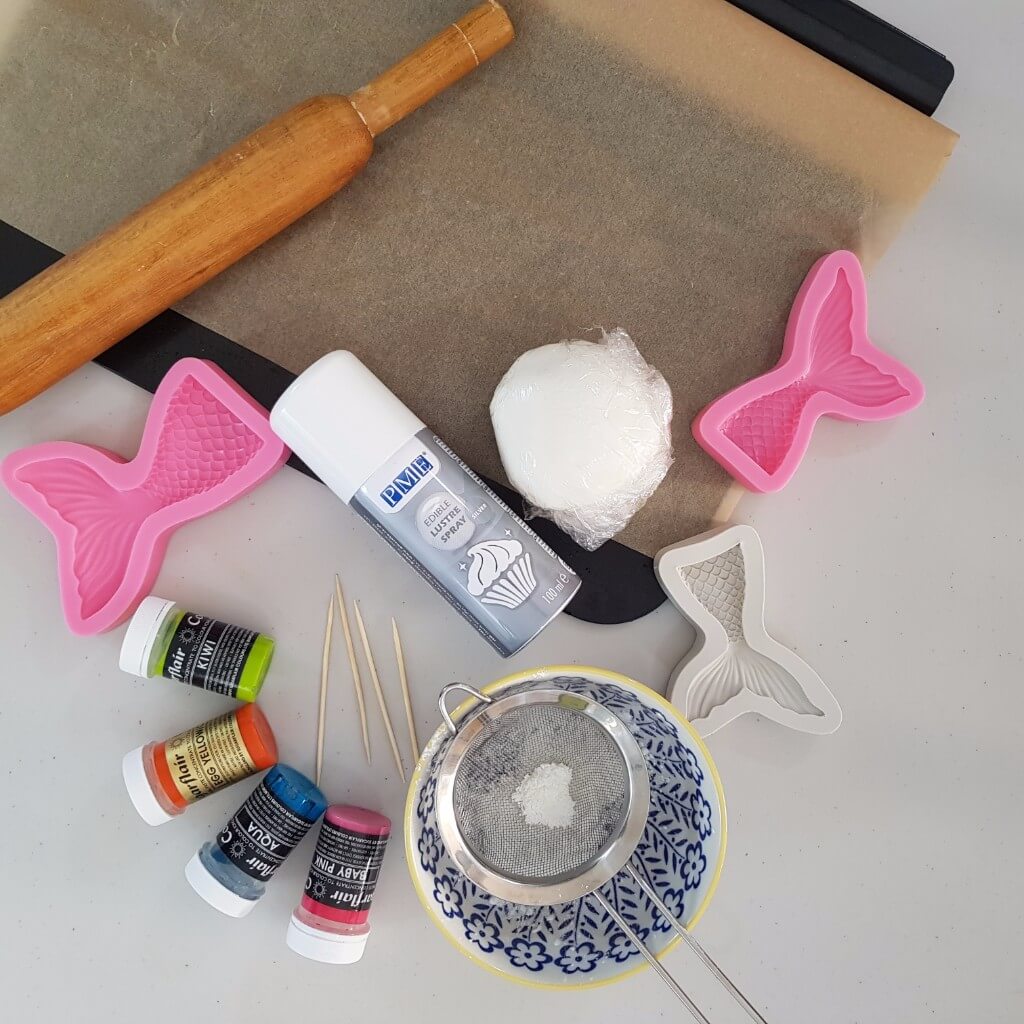
1. Knead the fondant by hand till soft, smooth and pliable. Roll it into a log and portion them into even segments for each colour.
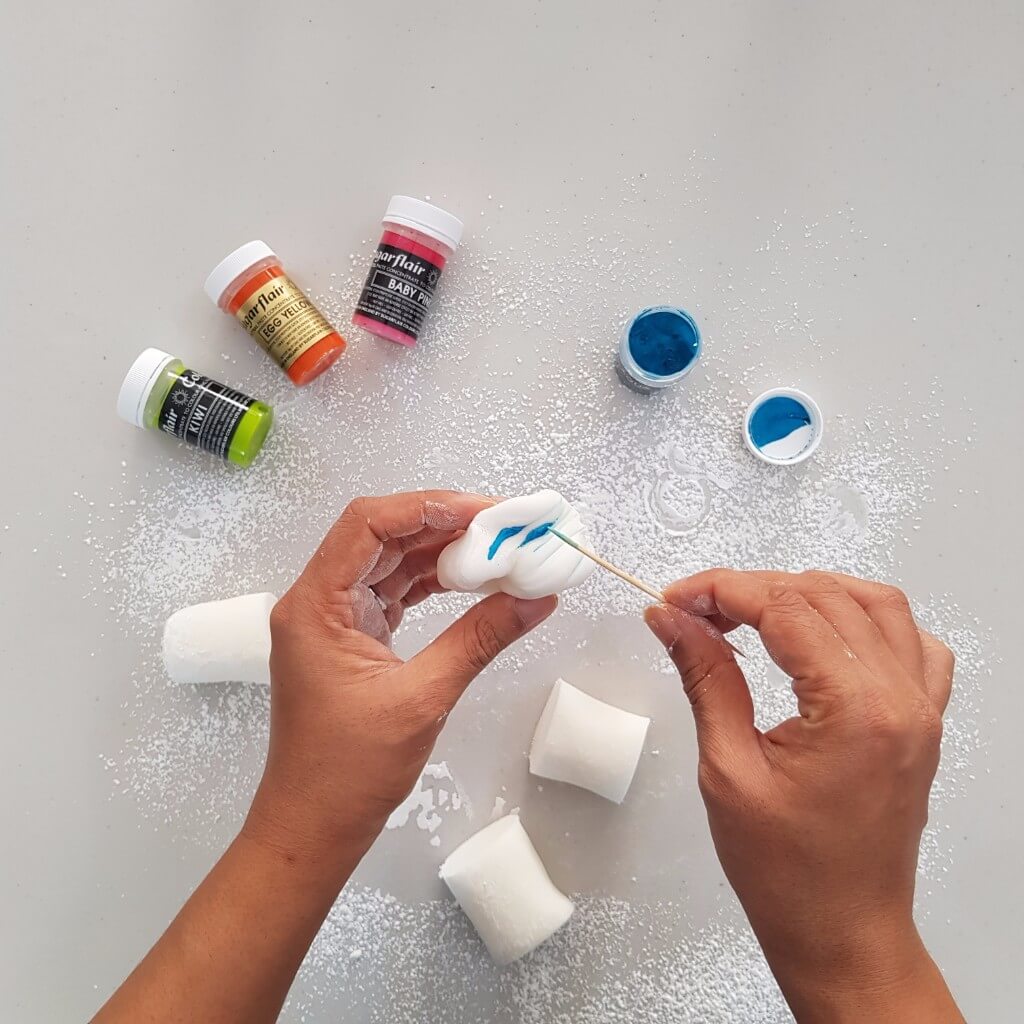
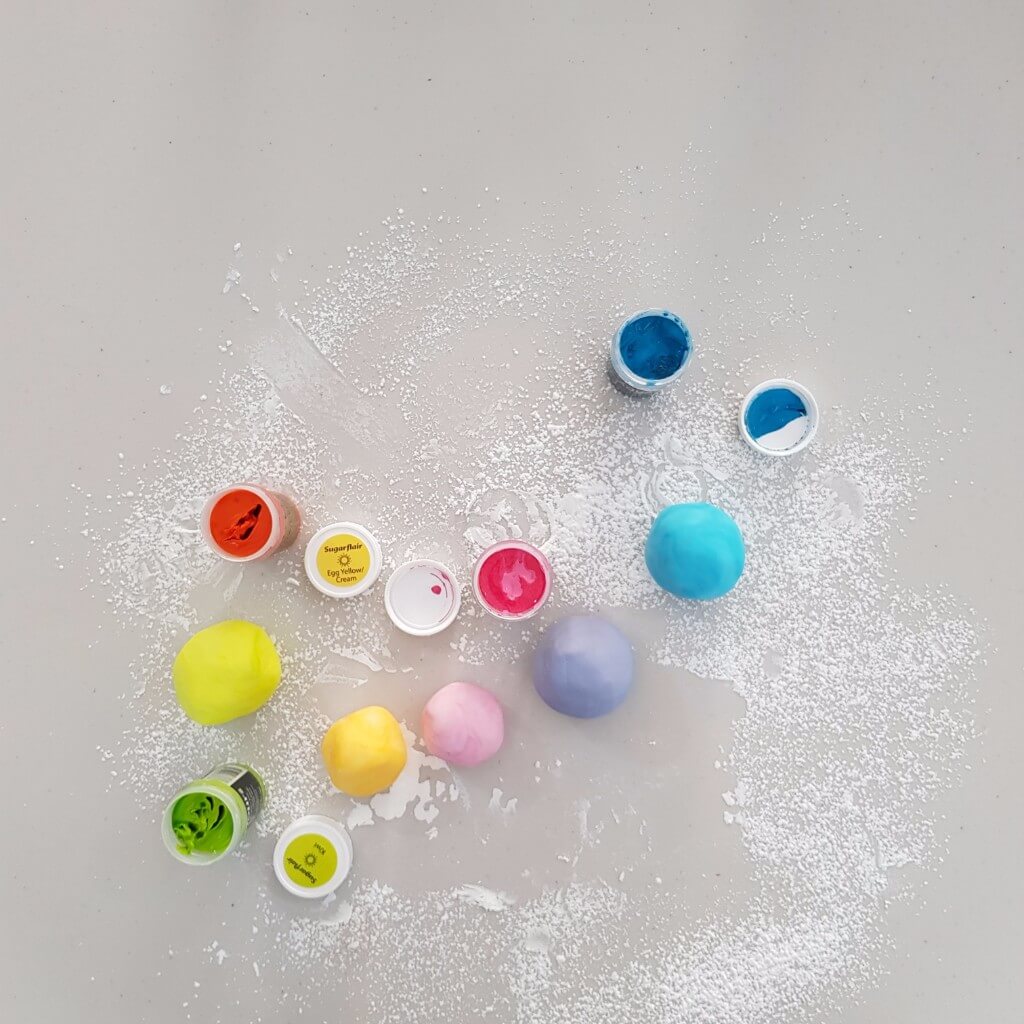
2. Using a cocktail stick, add the gel paste colour into the fondant and knead till coloured. Repeat same step for all colours.
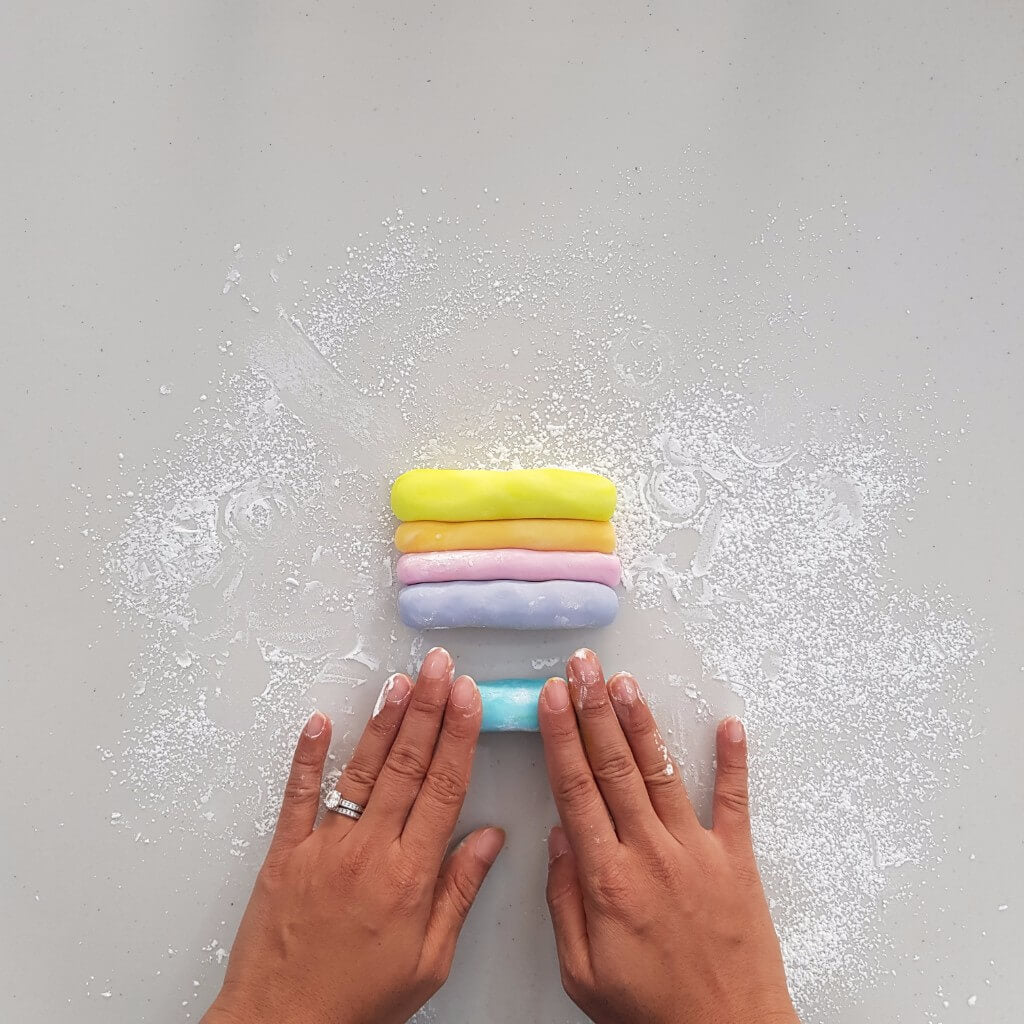
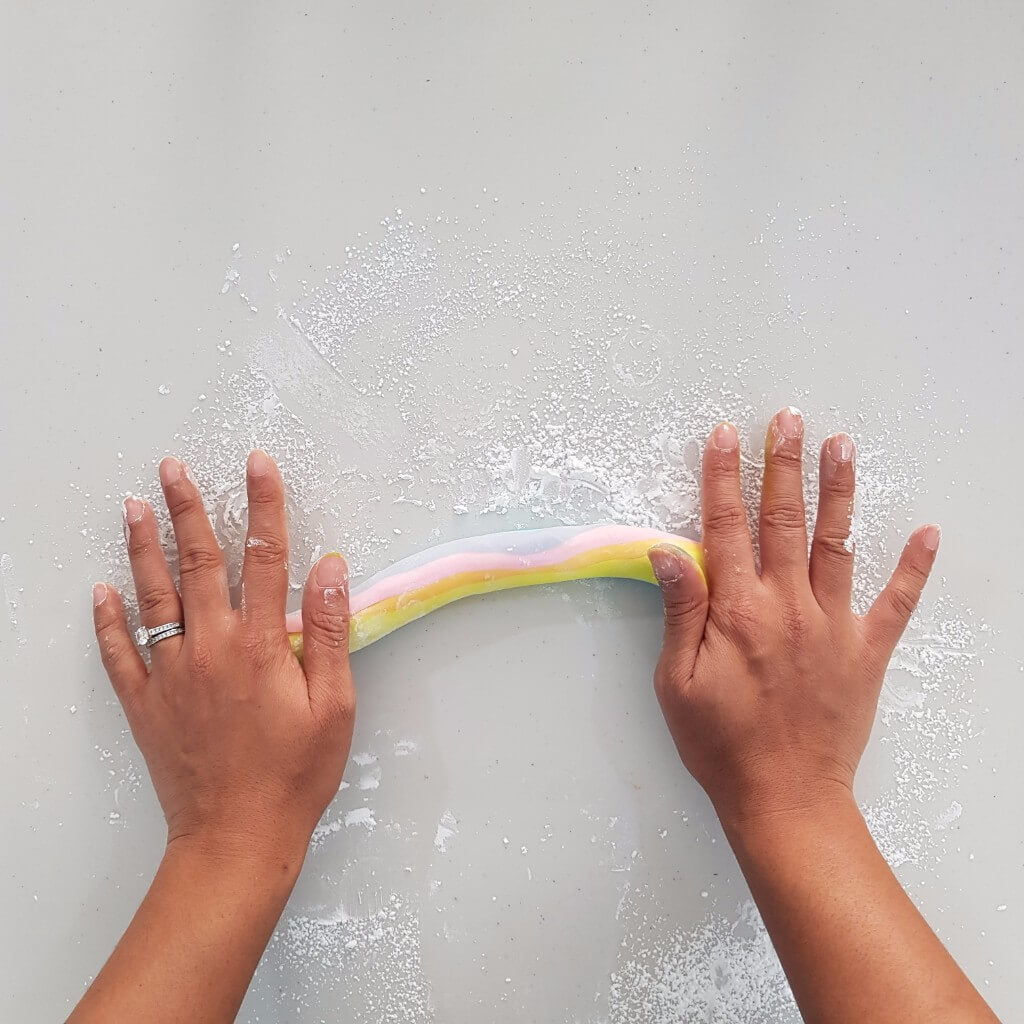
3. Roll each colour into logs and place them adjacent to one another. Roll them all into one and then into a fat log.
4. Sprinkle corn starch or icing sugar over the work surface and into the moulds. Break off a chunk off the mermaid-marbled fondant and press into the mould.
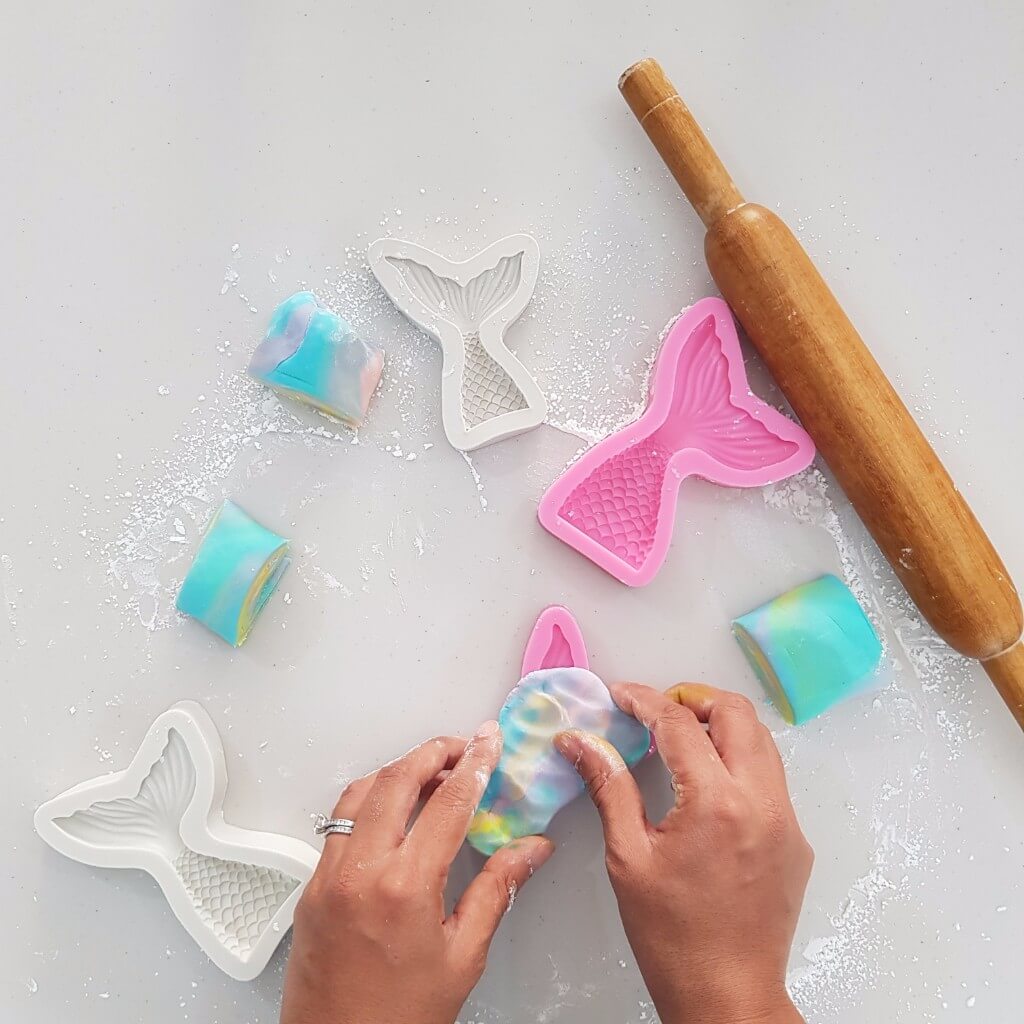
5. Lightly roll a rolling pin over the fondant into the mould and trim off the edges using your fingers lightly.
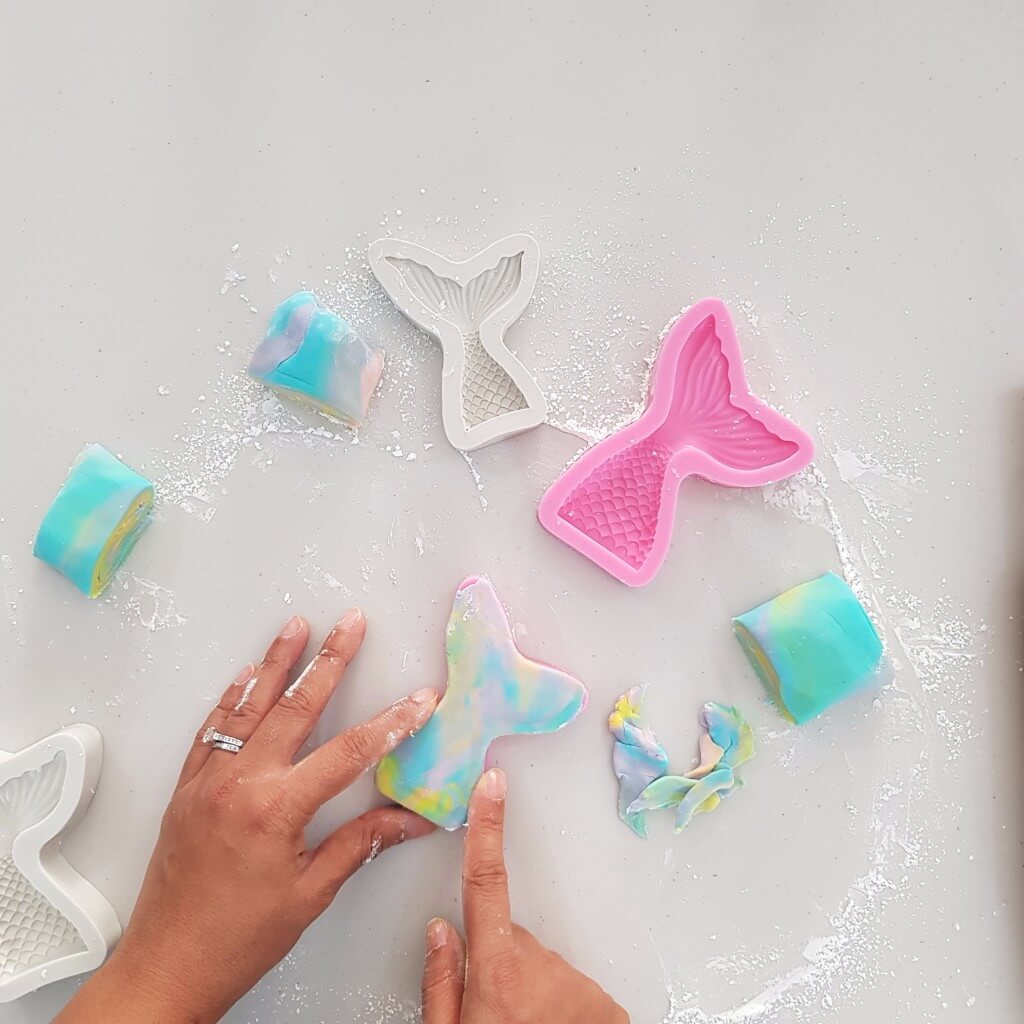
6. Peel off the tail from the mould gently by pushing the mould in slightly and trim off the edges again with a small paring knife.
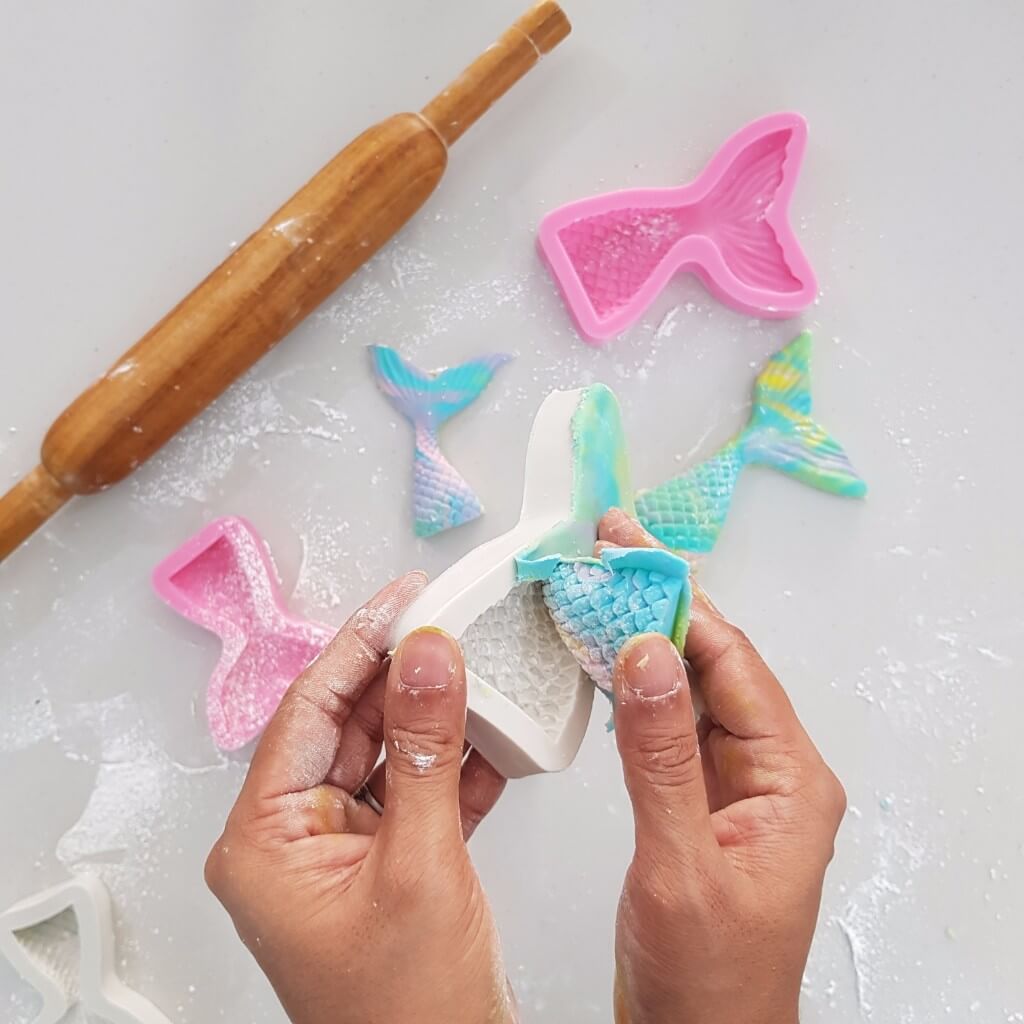
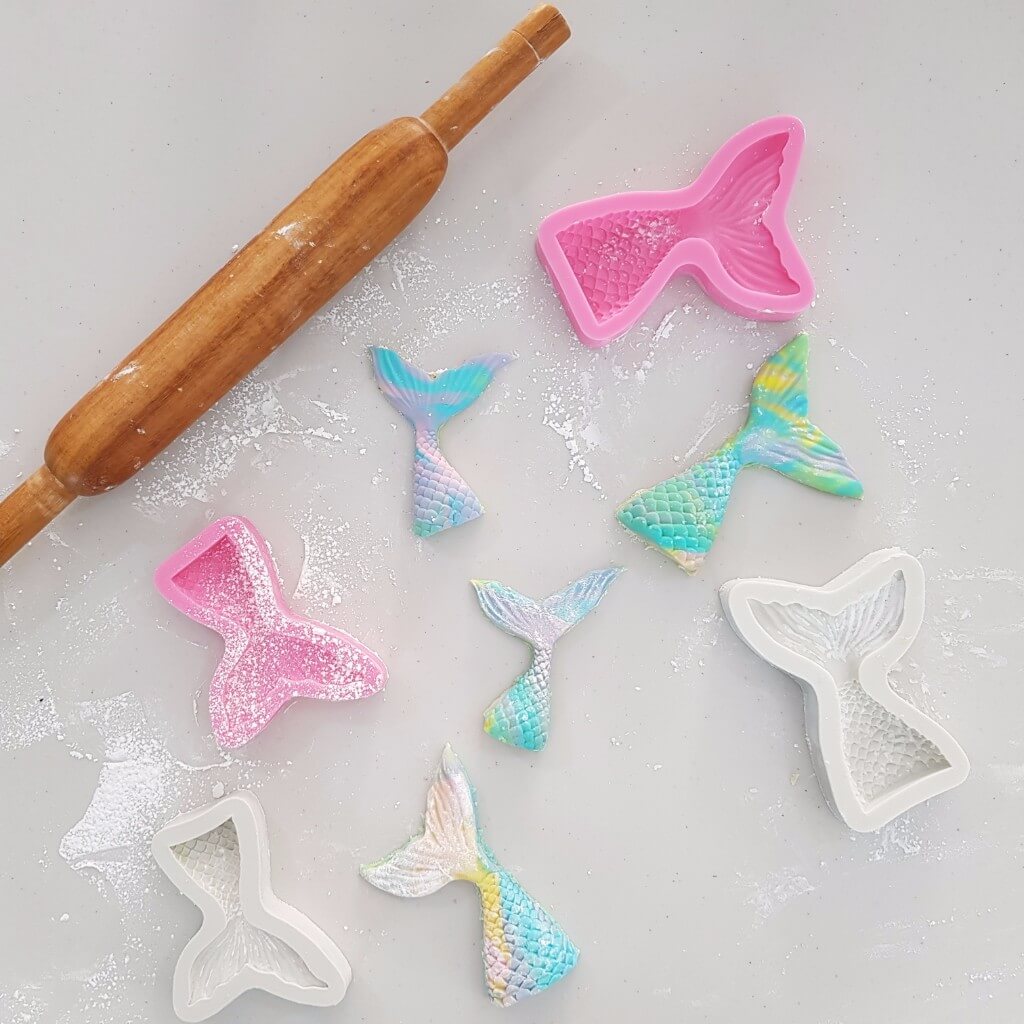
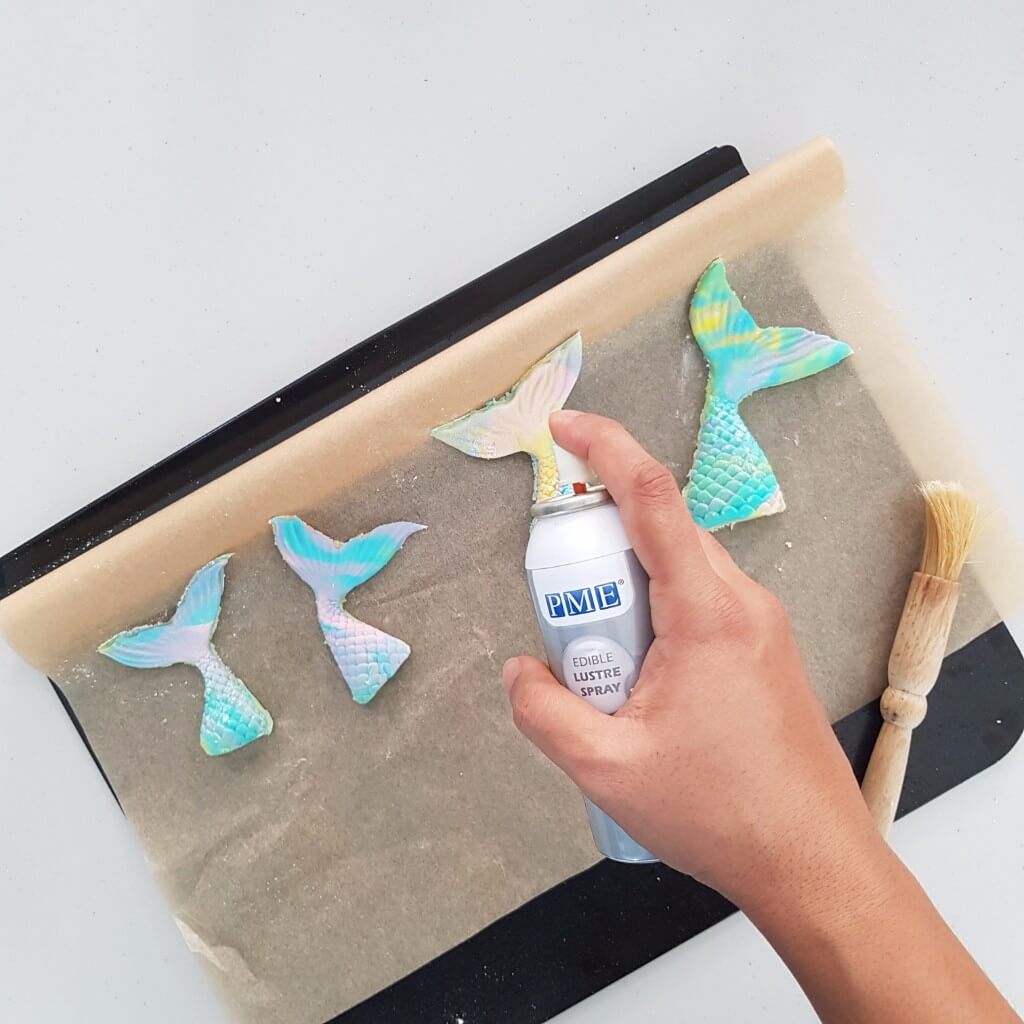
7. Place on a baking sheet lined with non-stick baking or parchment paper. Use a pastry brush to brush off excess corn starch and then lightly spray the lustre spray on the tails for some sparkle. Cuz, thou must always sparkle. Set aside to dry and firm up.
Vanilla Buttermilk Sponge Layers
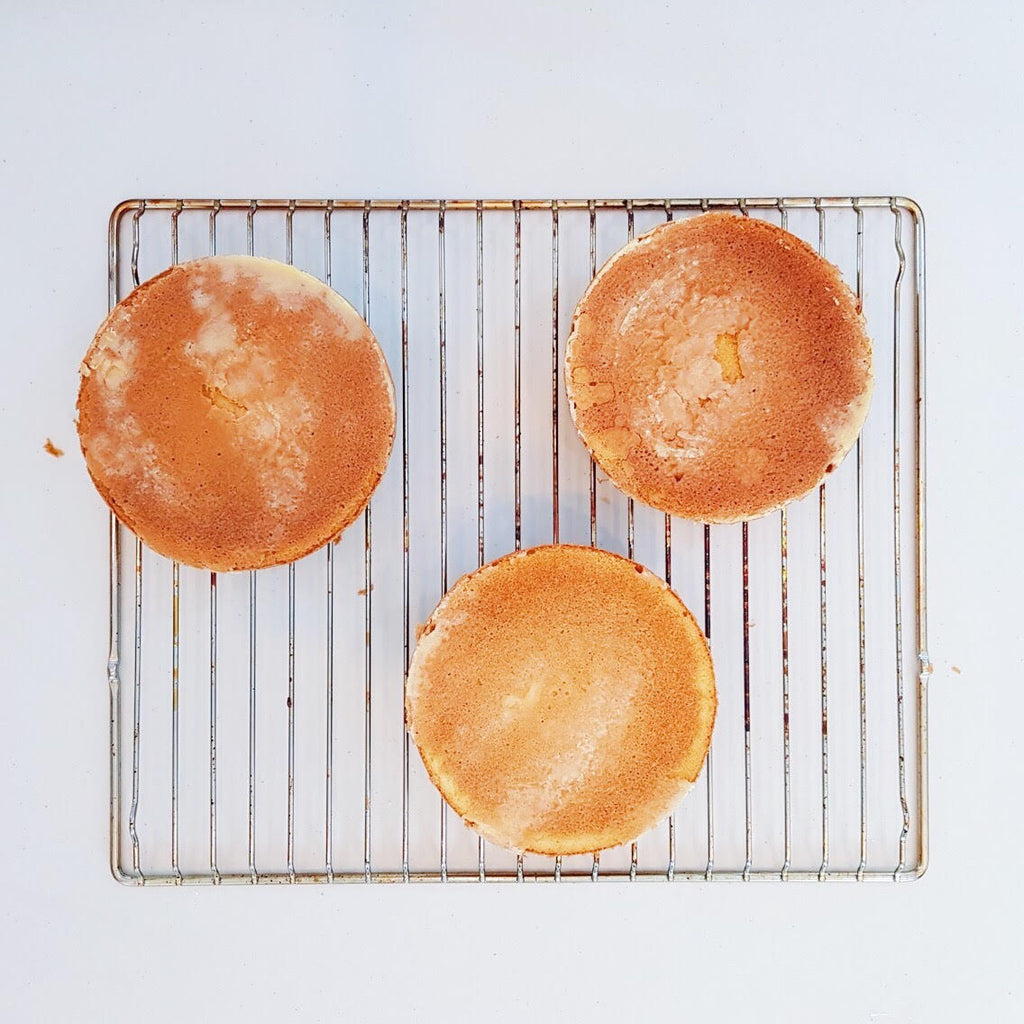
1. Follow the recipe here using 3x 6" round cake tins.
2. Once cool, wrap with cling film and chill in the fridge for 15-30 minutes until needed to decorate.
Swiss Meringue Buttercream
1. Follow the recipe here, or use your favourite vanilla frosting.
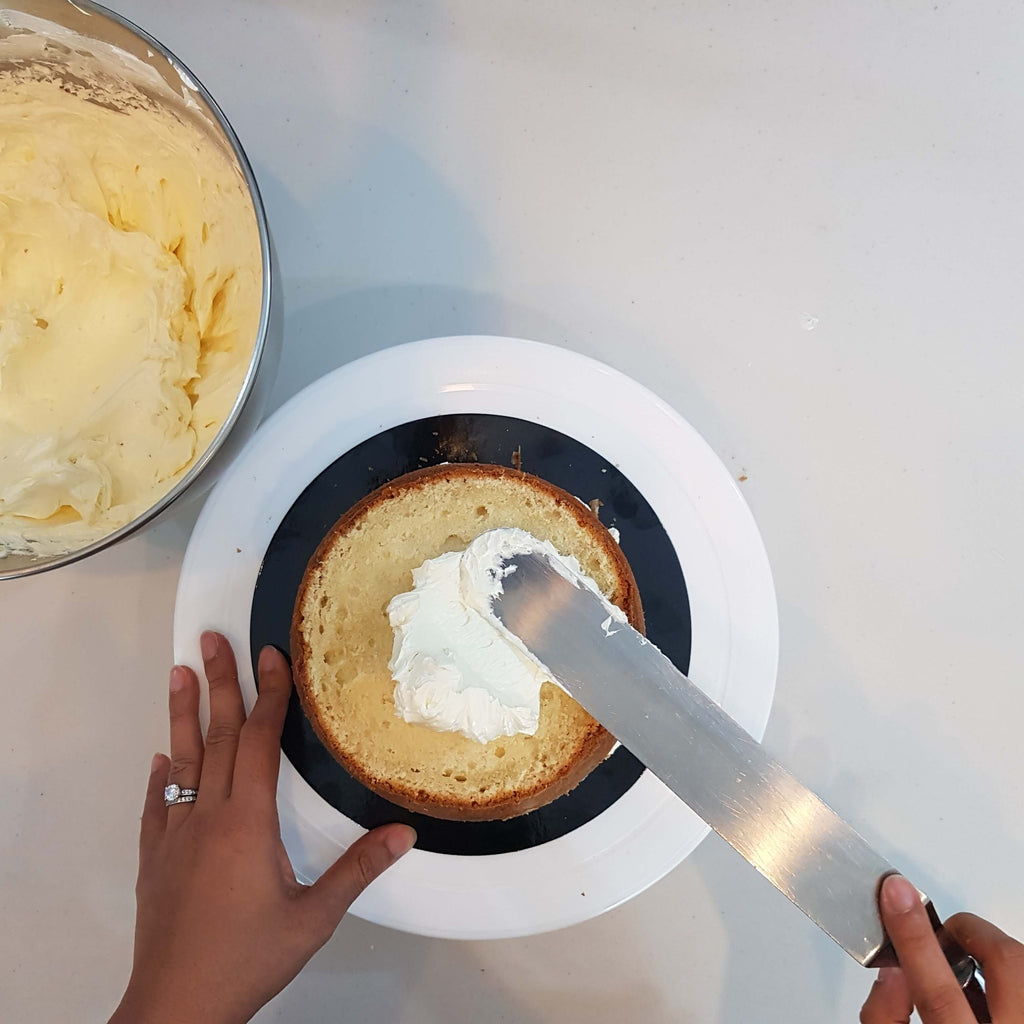
2. Smear a dollop of buttercream on an 8" cake board and place 1 layer of sponge, centred.
3. Using an angled palette knife or cranked spatula, spread an even layer of buttercream, about 0.5cm thick, on top of the sponge. Place another sponge layer over it and repeat with a layer of buttercream. Top with the 3rd layer of sponge.
4. Crumb coat the sides of the cake by smoothing on an even and thin layer. Use the edge of the palette knife or a cake smoother to smooth and take off excess buttercream.
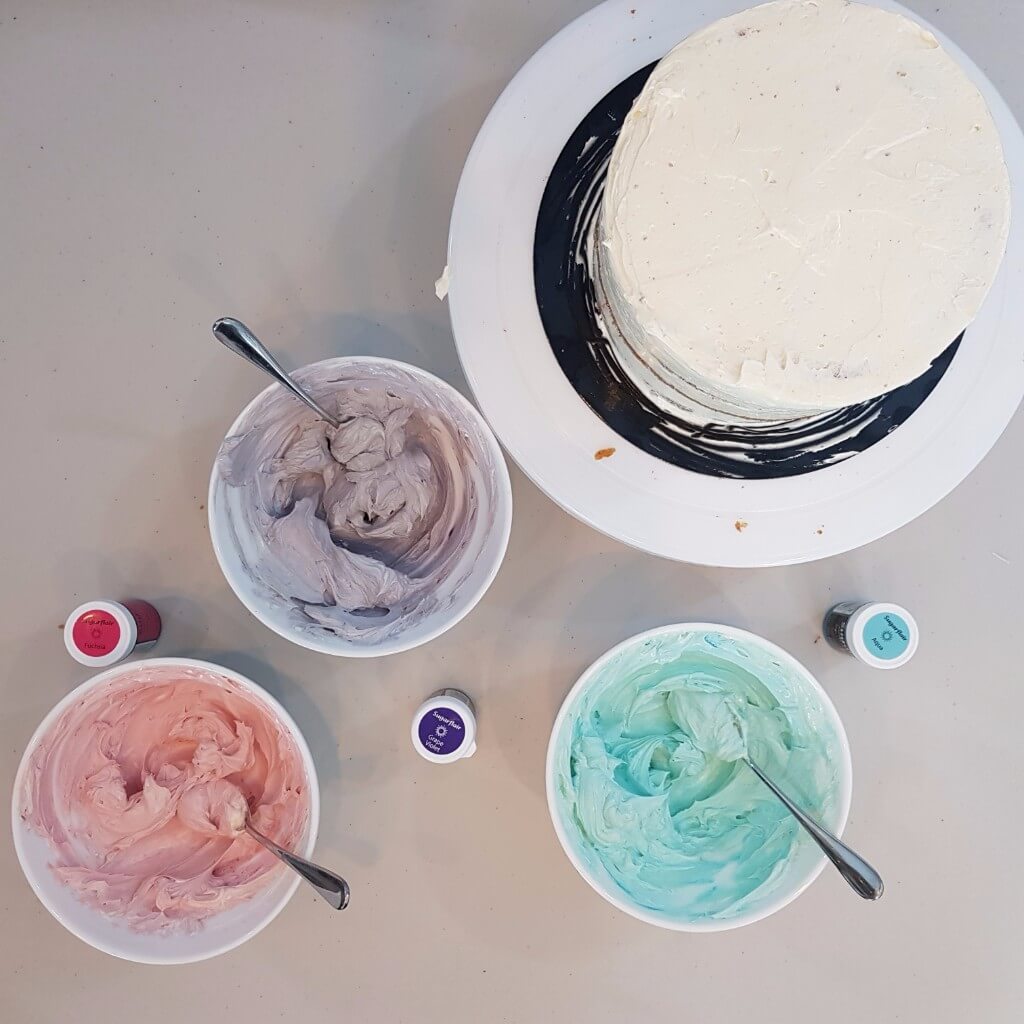
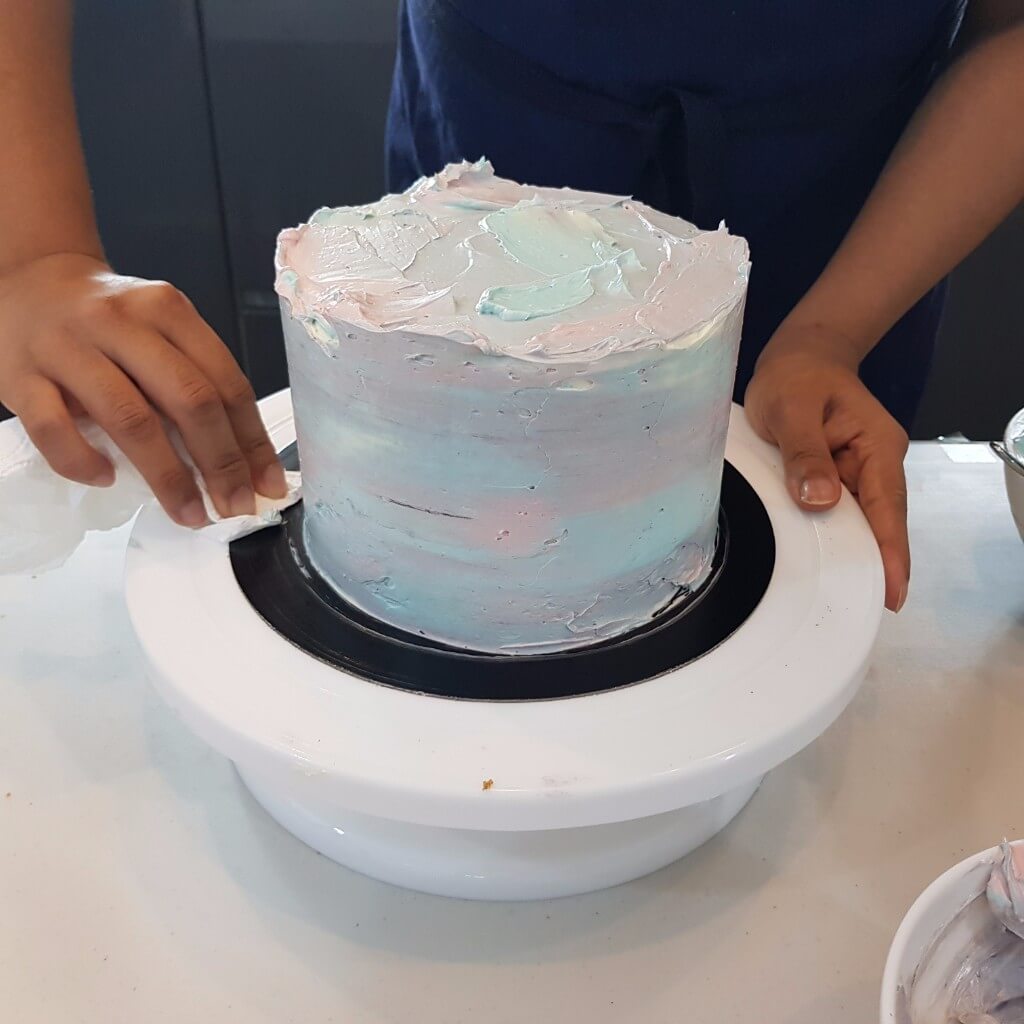
5. Divide the remaining buttercream into 3 bowls and add in pinches of blue, purple and pink food colouring gel pastes and mix it in till you have 3 different evenly coloured buttercreams.
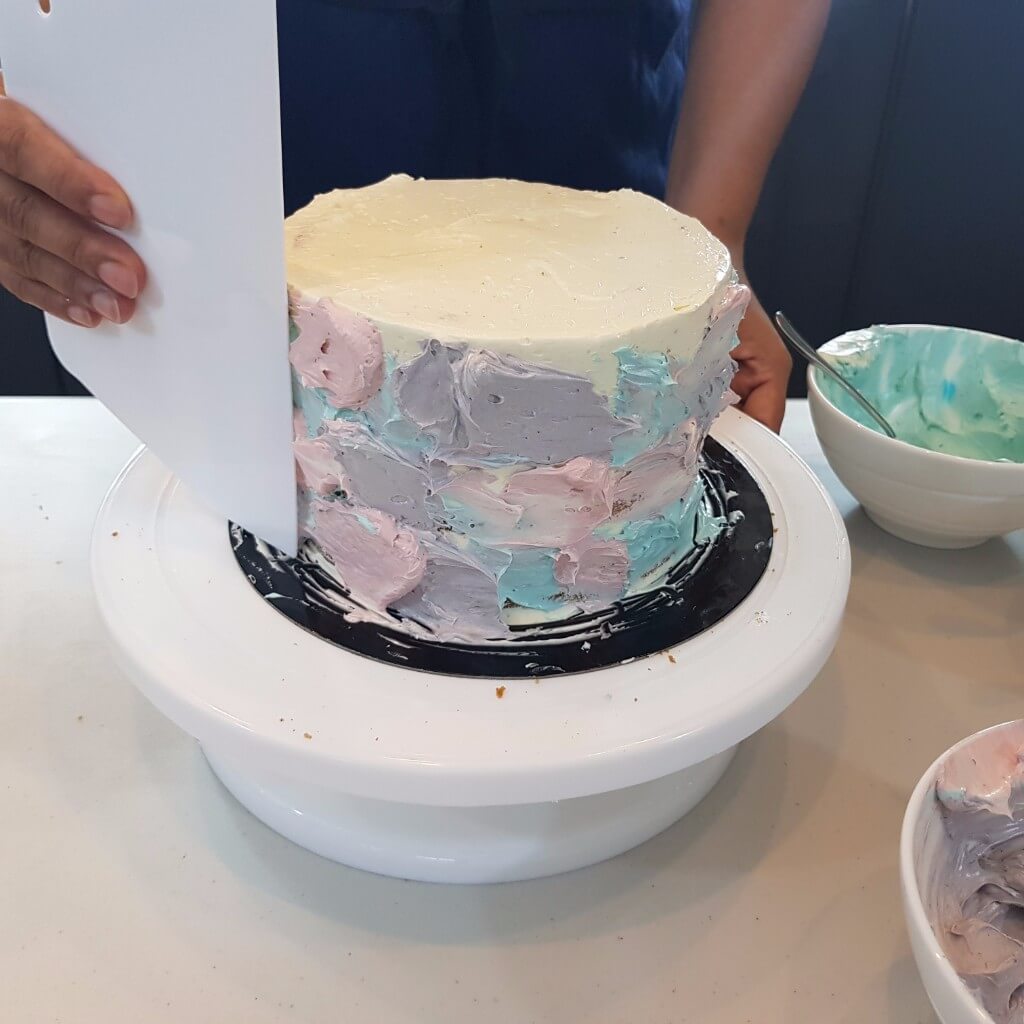
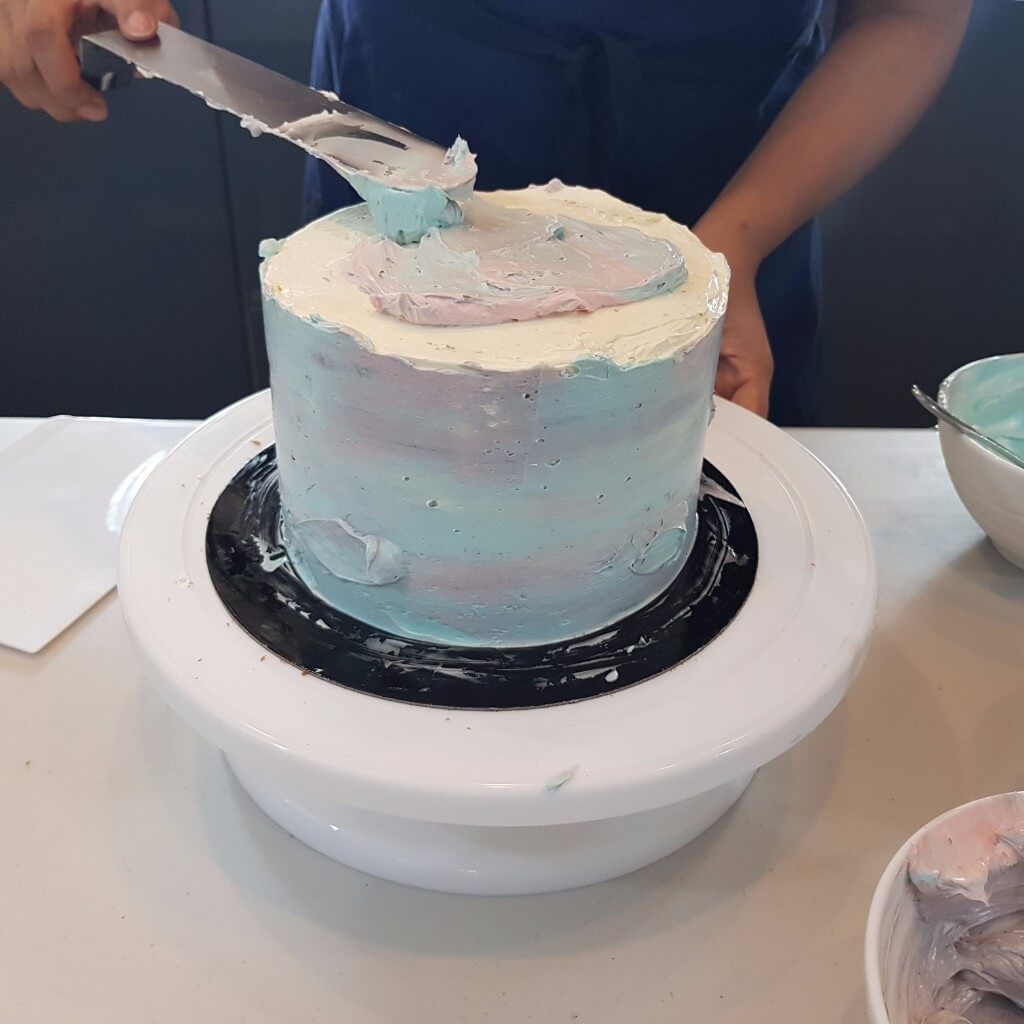
6. Smear dabs of each colour on the cake and over the top and use the edge of the palette knife to smooth and blend.
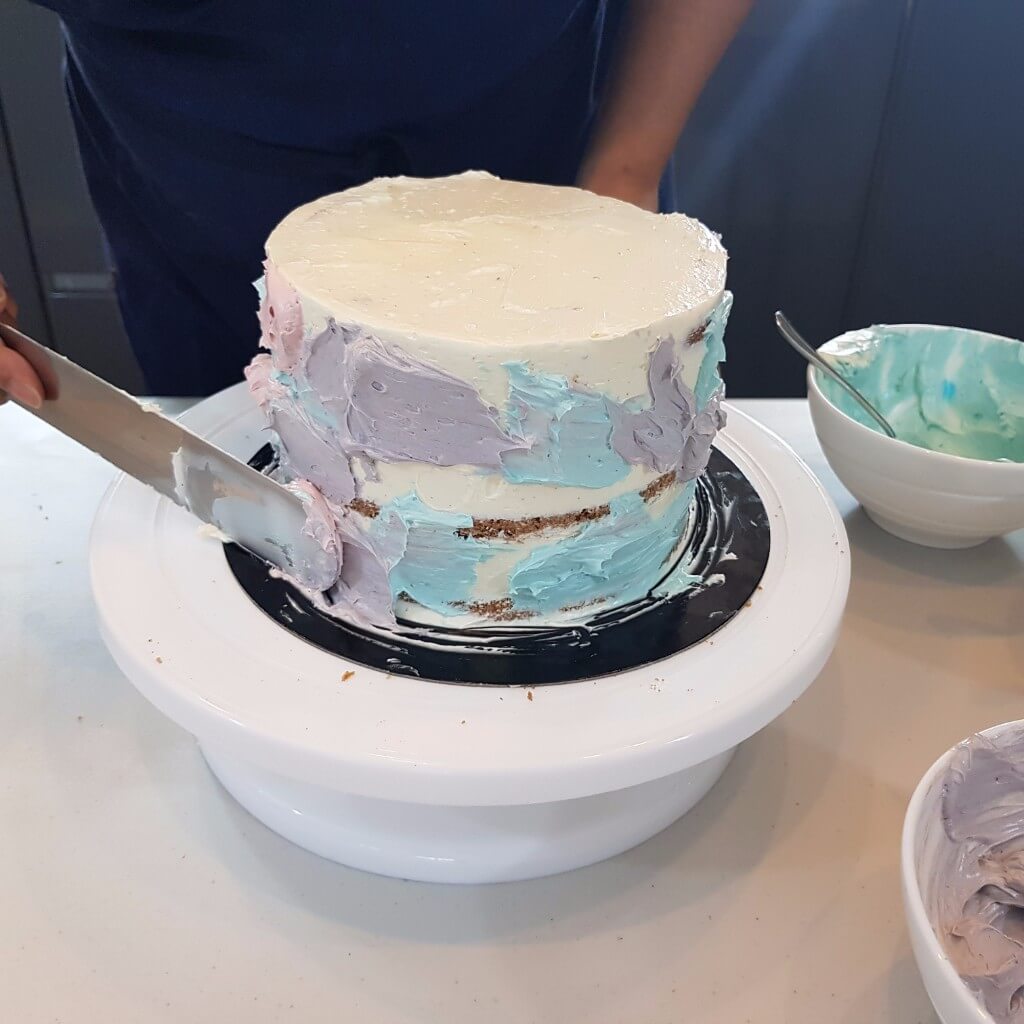
Patch up any uneven bits, lumps or gaps by adding a bit more buttercream over it and smoothing. Save remaining buttercream for use in decorating at the next (most exciting!) final stage.
Decorate
1 digestive biscuit, crumbs
5 Guylian seashell pralines
Edible silver lustre spray
Fondant mermaid tails
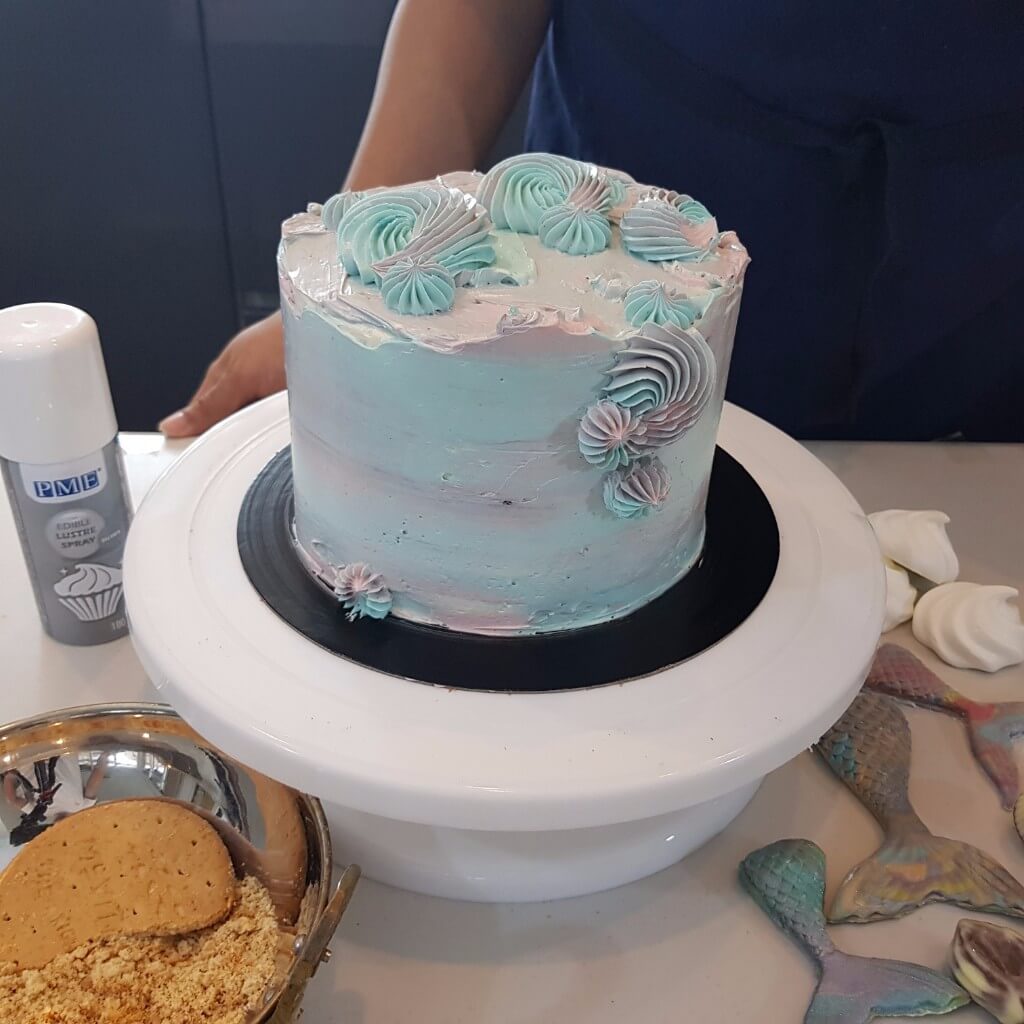
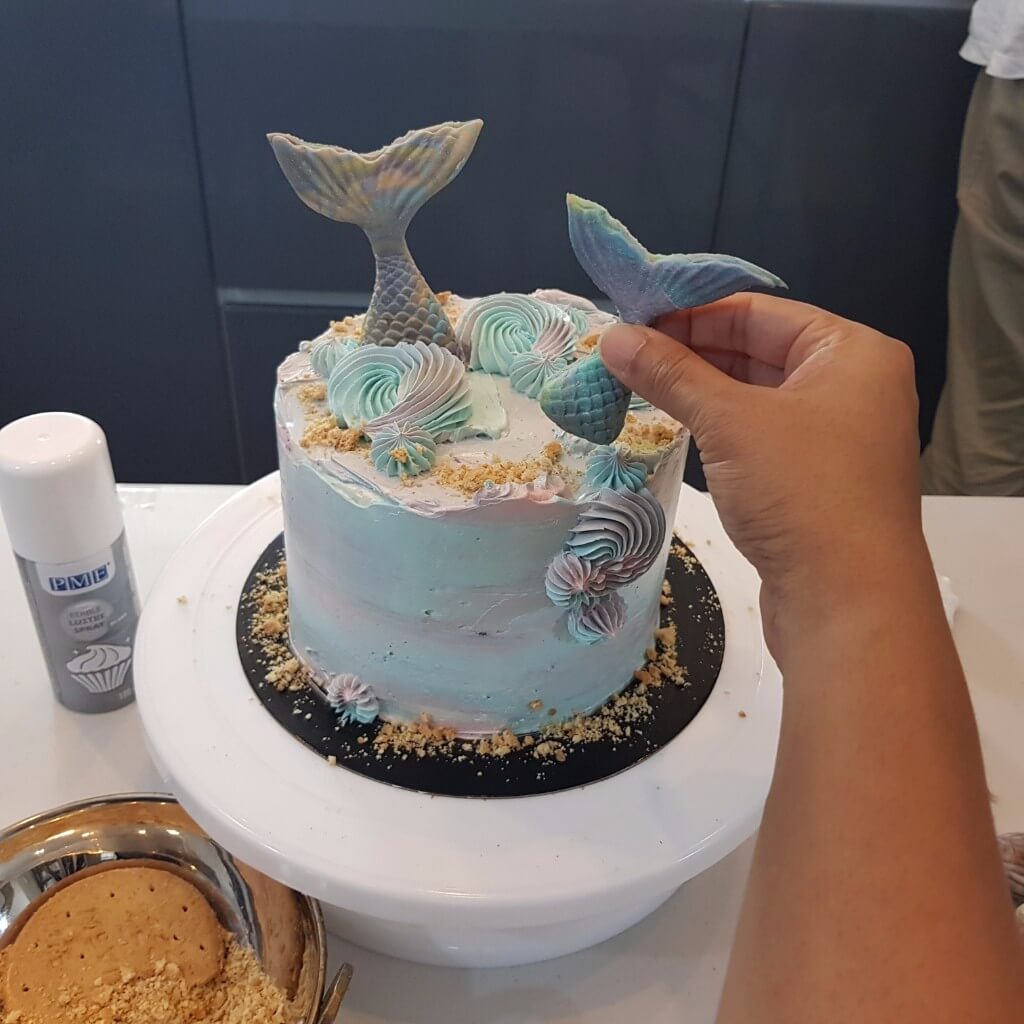
1. Prepare a piping bag with a large savoy piping nozzle and put all the remaining coloured buttercream into the bag. Pipe some swirls and stars on the frosted cake.
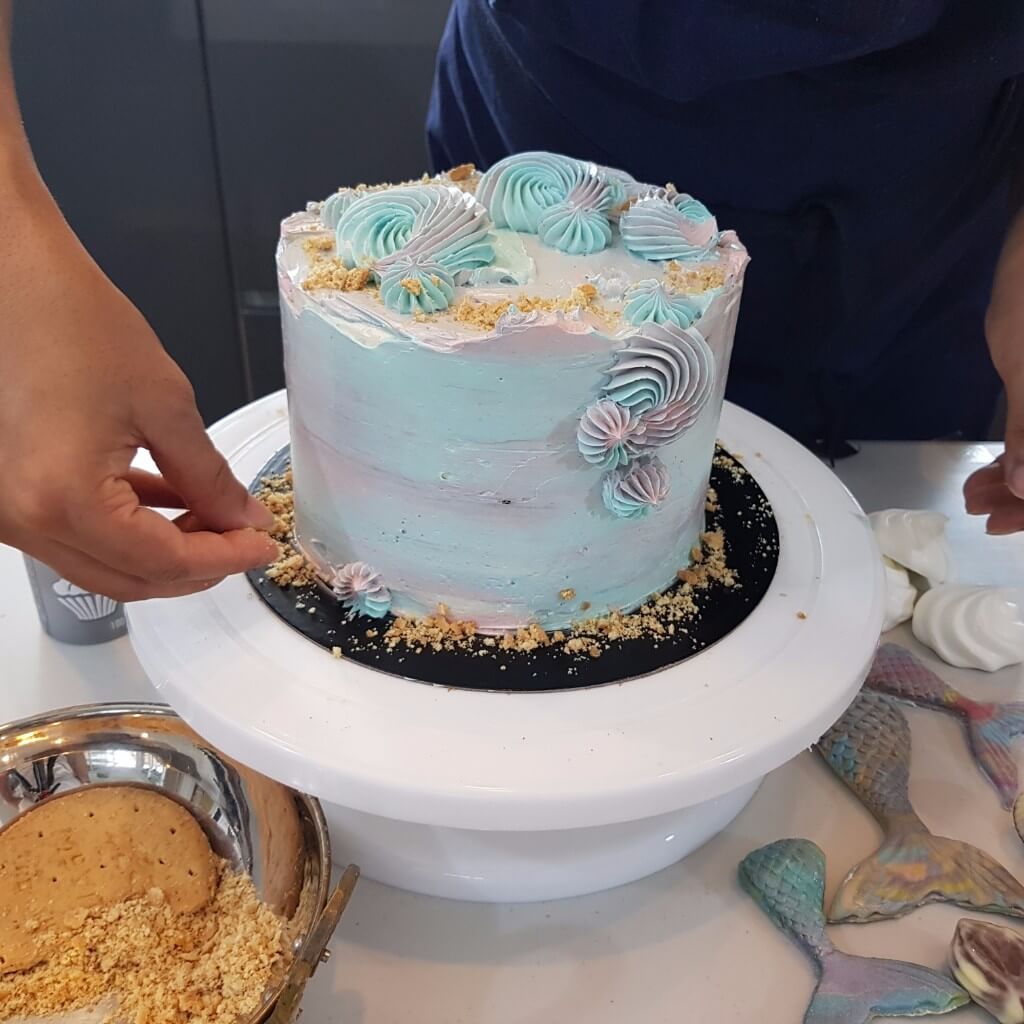
2. Sprinkle the crushed digestive biscuits around the edges and base of the cake.
3. Place the mermaid tails on the swirls of buttercream. You can also use cocktail sticks to hold the tails in place. Pipe a small star of buttercream on the front of the cake to affix a mermaid tail against on the base.
4. Lightly spray silver lustre onto the seashell pralines and place them along the top of the cake and also the base.
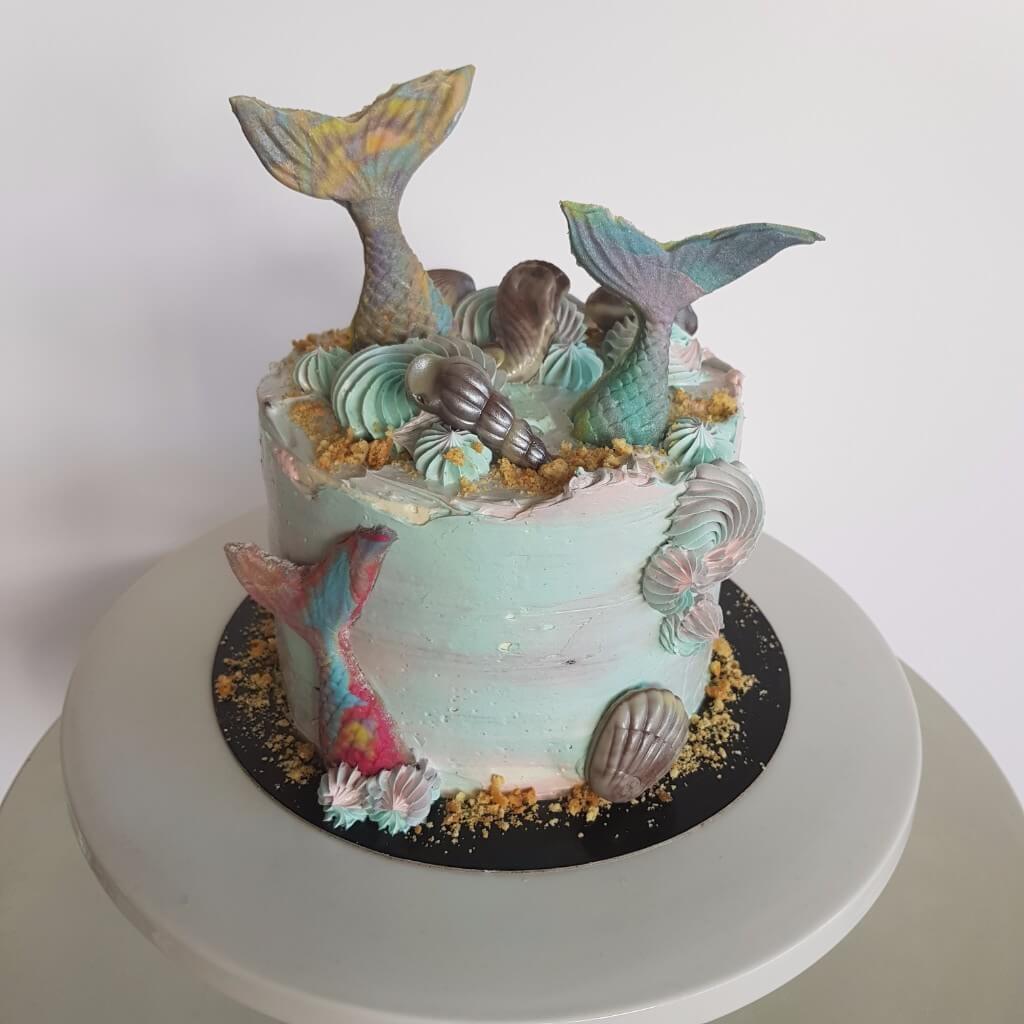
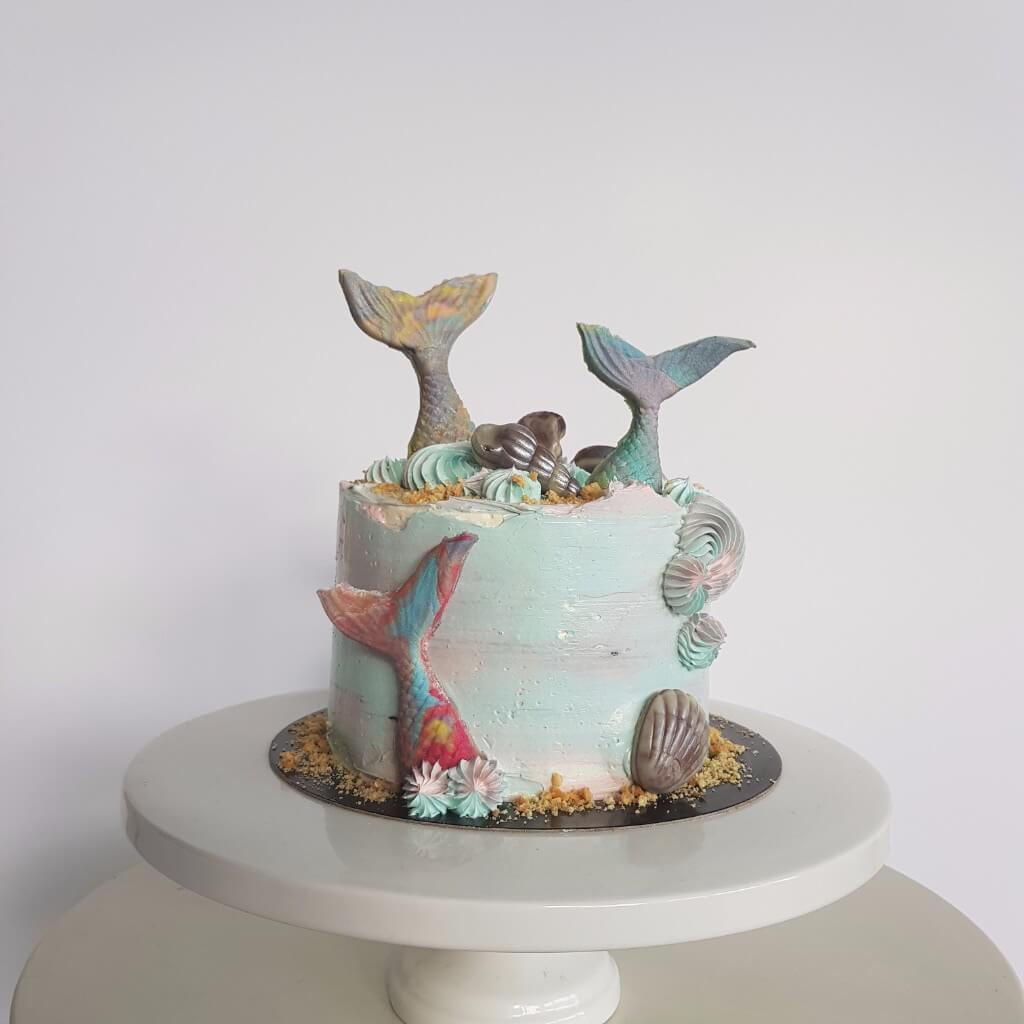
5. Finish by adding a few more piped buttercream star details along the base and sides around the cake. Your masterpiece is ready to show off and cut into (if you can bear to!)
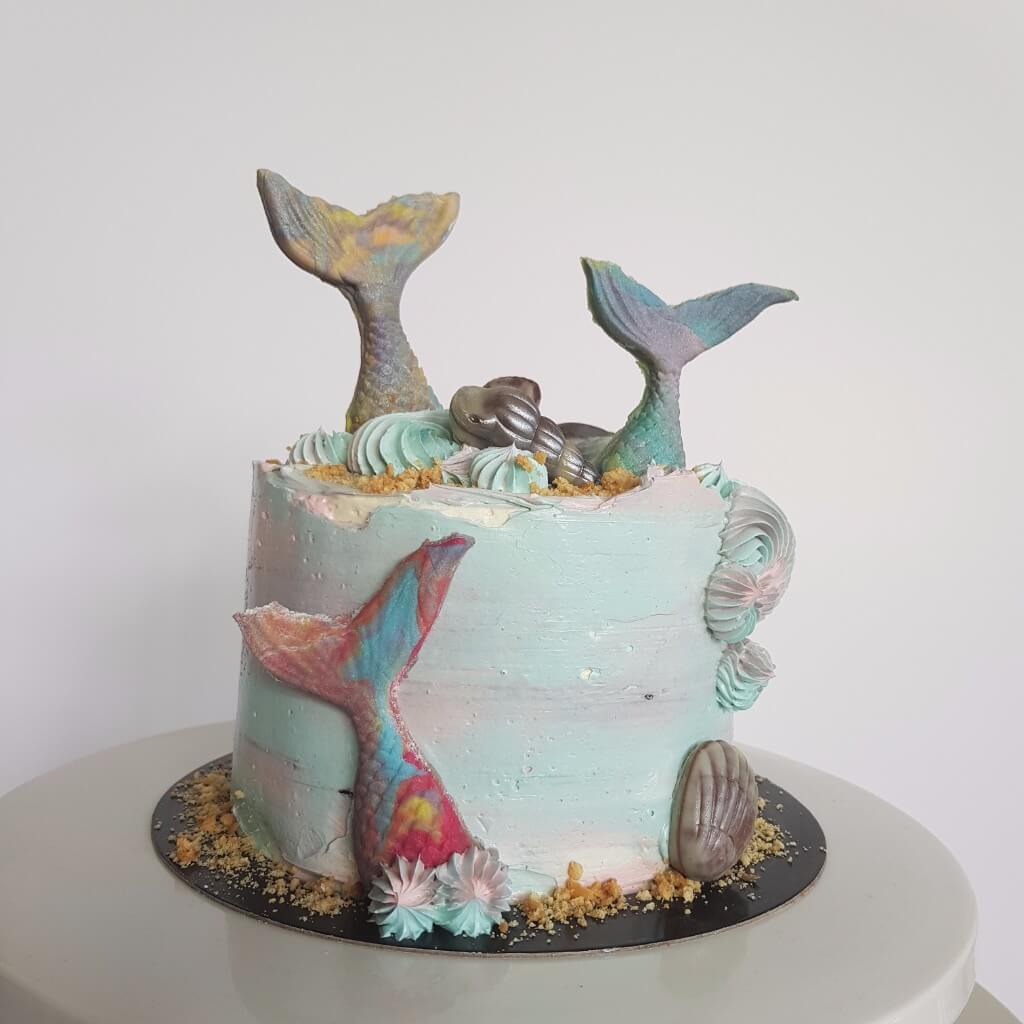
There are no hard and fast rules to decorating cakes. You can stamp your own style by using other decorative items such as other fondant sea creature shapes, mini meringues, macarons, edible sugar pearls, silver sprayed mini Oreos, mini marshmallows.
But I will advice not leaving cake decorating to the last minute - stress does not help! You can actually even do quite a lot in advance - fondant tails can be made a few days ahead, Swiss meringue buttercream keeps easily for a few weeks in the fridge, the sponges can be baked the day before. By spreading it out before hand, when the time comes to putting it all together you're a chill-beans, zenned out smooth operator.
Do tag me when you show off your masterpieces on Instagram @angesdesucre #angesdesucre - I'd love to see your version!
Lots of love,
Reshmi xoxo


Anna
October 29, 2017
Seriously fabulous! Will have to try this out!