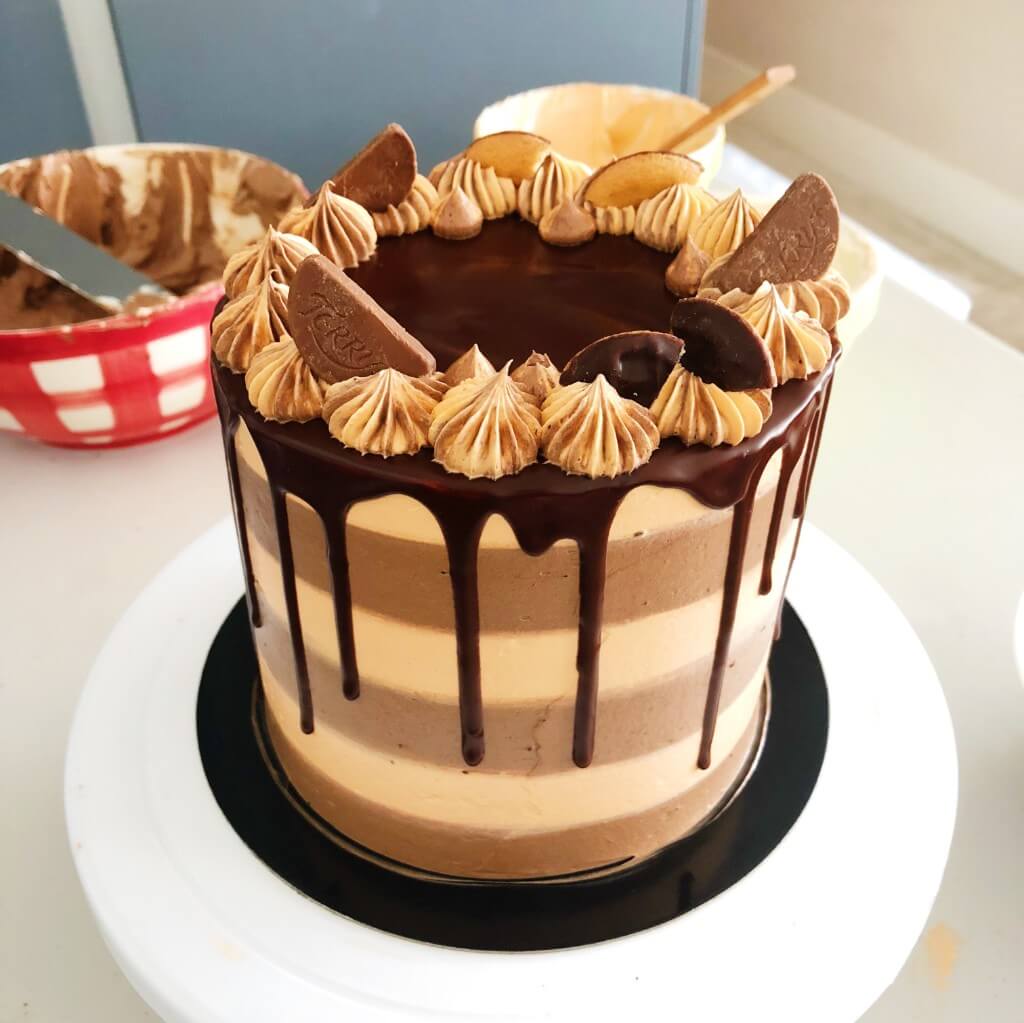
I grew up obsessed with chocolate orange cake - this version is the ultimate upgrade: rich chocolate sponge, mousse-like buttercream, and a glossy orange-infused drip.
Fast forward 30+ years and I couldn't think of anything worse than having an oily cake out of a plastic packet, let alone think of it as a well earned treat. But, you know when you have that chocolate orange cake itch that needs a proper scratch? Well, this easy-AF recipe sorts that out, with soft and moist chocolate orange sponge layers, mousse-like buttercream in a smart striped pattern, a glossy chocolate orange drip and decorated with Terry's chocolate orange segments and jaffa cakes. It's my classy grown up chocolate orange cake treat, just as addictive as my childhood fave but definitely made without any secret crack-like ingredients.

Chocolate Orange Cake Sponge Recipe
Ingredients
350g Self raising flour
6 tablespoons cocoa powder
2 teaspoons baking soda
300g caster sugar
4 eggs, beaten
300ml oil (use a neutral oil like vegetable or sunflower oil - avoid olive or coconut oil as they alter the texture and flavour)
300ml milk
4 tablespoons golden syrup
3 teaspoon orange extract or zest of 2 oranges
Method
1. Pre-heat the oven to 170 degrees celsius. Prepare three 6 inch round cake tins by greasing with butter/oil and sprinkling over a light layer of flour.
Sift together the flour, cocoa powder, and baking soda into a large mixing bowl. Stir in the caster sugar.

2. Pour in the remaining wet ingredients and whisk till no lumps are visible.

3. Divide the batter into the three cake tins and bake for 30-35 minutes or until a wooden cocktail stick comes out clean.

4. Once the sponges have baked, bring them out of the oven and let them rest for 10 minutes before releasing onto a wire rack to cool completely. Once cool, you can trim the tops to level with a knife if needed.
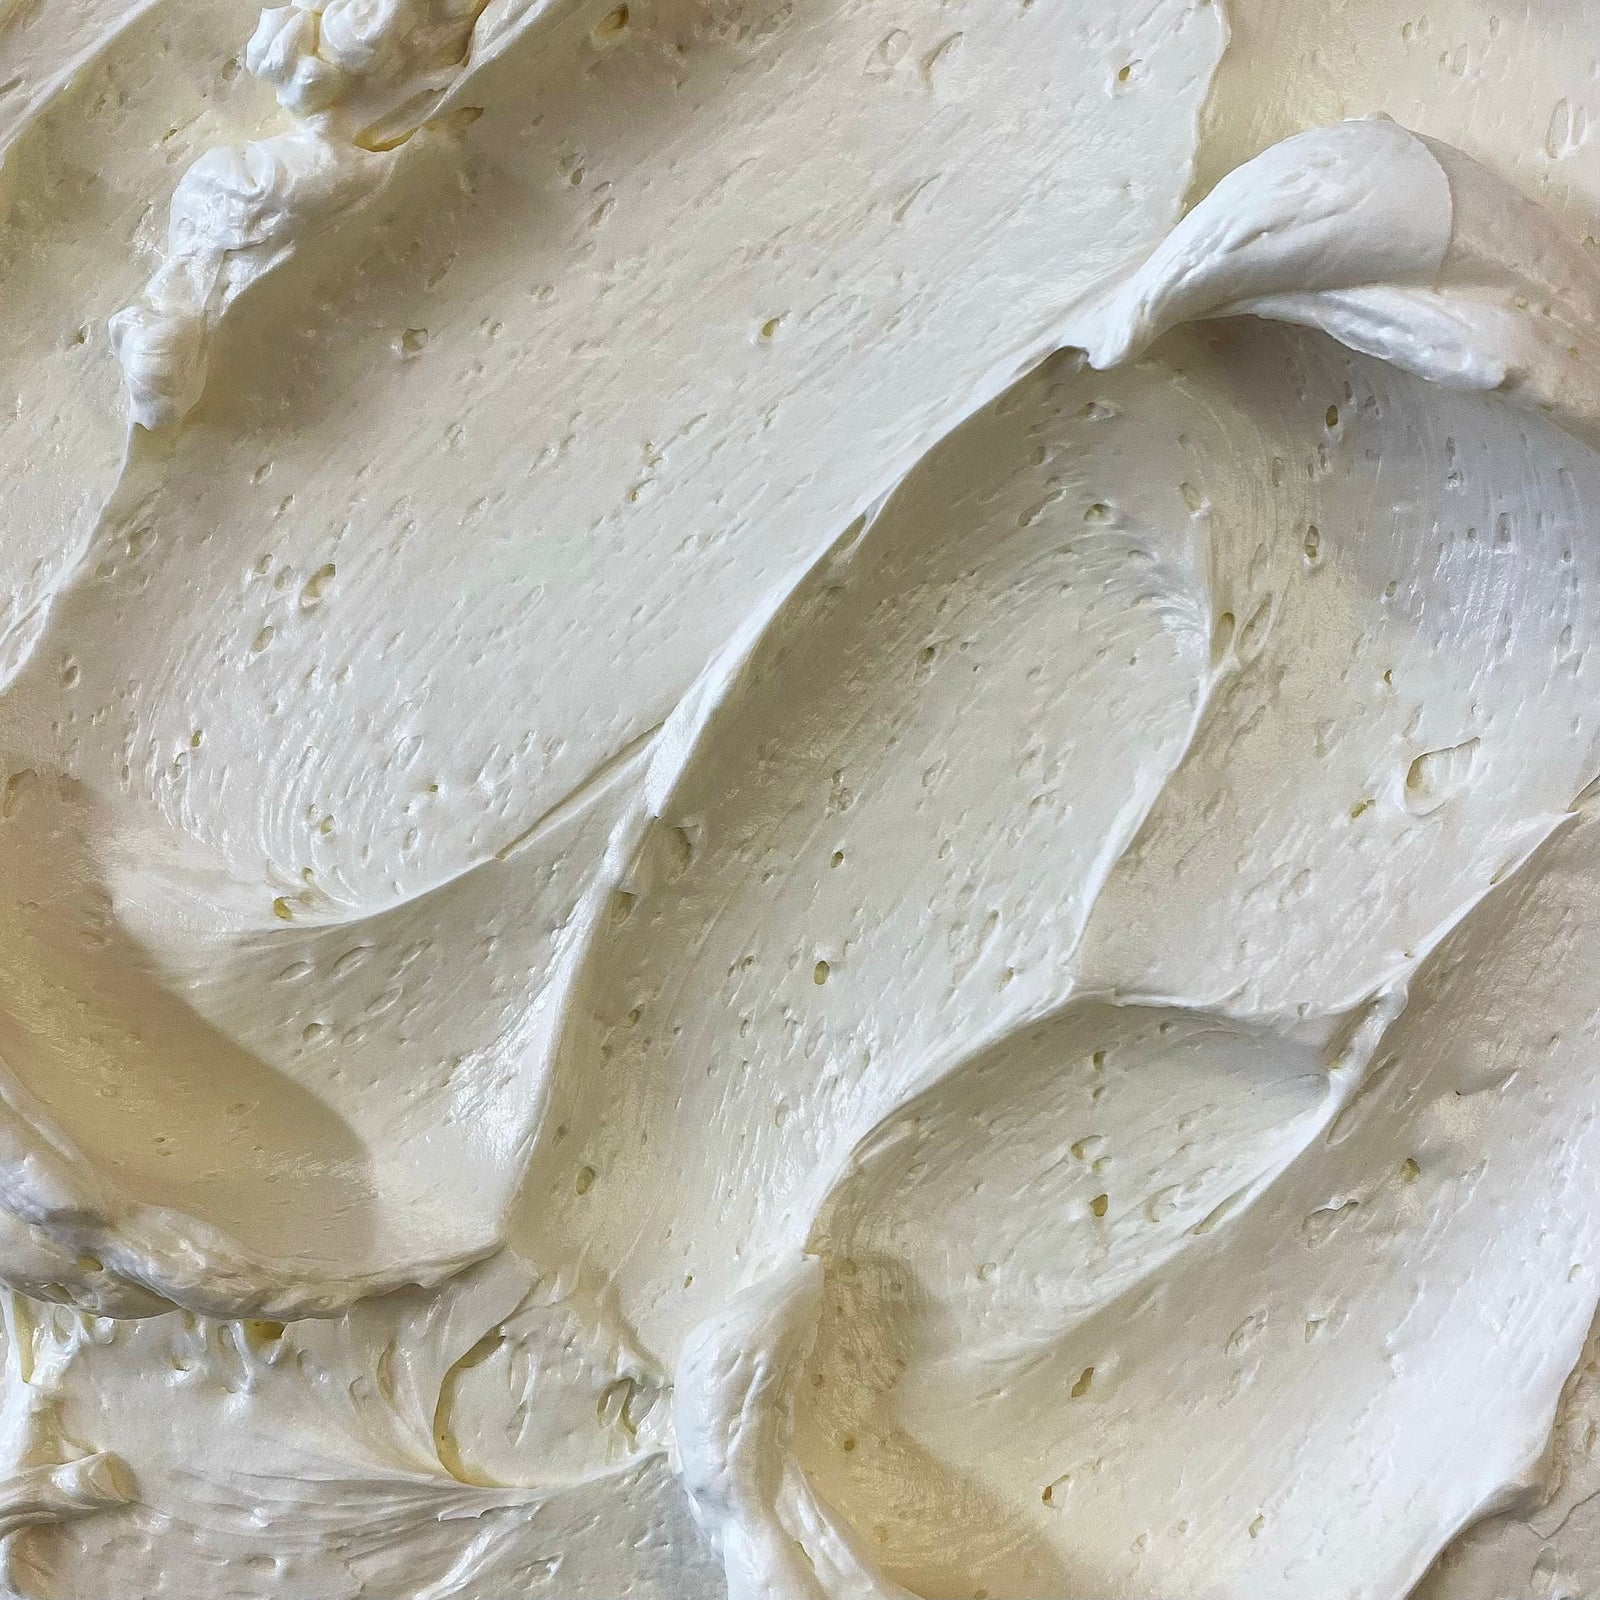
Swiss Meringue Buttercream Recipe
Ingredients
150g egg white at room temperature
225g granulated sugar
300g butter at room temperature
1 tsp vanilla extract
3 tablespoons cocoa powder
1 teaspoon orange extract
1/2 teaspoon Orange food colouring gel paste (or a mix of red and yellow food colouring)
Pinch of salt
Method
1. Follow the recipe of my Swiss Meringue Recipe.
2. Make a batch of Swiss meringue buttercream (full recipe included below). Divide it into three portions: one plain, one with cocoa powder, and one with orange extract + food colouring.

Chocolate Orange Ganache Drip Recipe
Ingredients
150g dark chocolate (chopped or chips)
100g butter
1 tsp orange extract
Method
1. Follow the recipe of chocolate ganache drip.
2. Stir in the orange extract.
Decorating the Chocolate Orange Drip Cake
Ingredients
Terry's chocolate orange segments
Jaffa Cakes
Method
1. Place an 8 inch round cake board on a decorating turn-table and smear a dollop of plain buttercream in the middle using a cranked palette knife.
2. Place a chocolate orange sponge layer in the middle and spread an even layer of buttercream over.

3. Sandwich the buttercream with another layer of chocolate orange sponge and repeat until the third sponge is also placed with buttercream smoothed over the top.

4. Apply a crumb-coat of buttercream on the sides and smooth using a cake scraper or the edge of the palette knife. Chill the crumb-coated cake. Pipe alternating stripes of chocolate and orange buttercream up the sides, then smooth with a cake scraper. Chill before adding the chocolate drip.


5. Fit two piping nozzles of your choice into the two piping bags already used to make the buttercream stripes on the cake. Layer the chocolate and orange buttercreams into each bag and pipe dollops around the cake.

6. Finish by placing chocolate orange segments and jaffa cake pieces onto the buttercream dollops.
 Using this recipe to make Cupcakes
You can also use the recipe to make 24 cupcakes - they look and taste AMAZING simply frosted or dressed up with all the choccie-orange-deliciousness.
Storage Tip for Cupcakes:
- Room Temp: Store in an airtight container for up to 3 days.
- Fridge: Store in the fridge for up to a week (but bring to room temp before eating).
- Freezer: Freeze unfrosted cupcakes for up to a month, then frost when defrosted.


This chocolate orange drip cake recipe is perfect for Halloween if you want to replace the gore with gorgeous, or any time of the year, and will definitely vanish within moments!

If you love chocolate orange then you have GOTTA give this a go. Let me know how you get on and tag me on your photos on instagram @angesdesucre #angesdesucre so I can binge with my eyes too. And now is a whole bunch of useful information:
Equipment List
Here is a list of equipment you will need for the Chocolate Orange Drip Cake recipe:
- Three 8-inch (20 cm) round cake pans
- Parchment paper
- Cooking spray or butter for greasing pans
- Mixing bowls (various sizes)
- Whisk or electric mixer
- Rubber spatula or spoon
- Measuring cups and spoons
- Sifter or fine mesh strainer
- Zester or microplane (if using fresh orange zest)
- Citrus juicer (if using fresh orange juice)
- Saucepan or microwave-safe bowl (for melting chocolate)
- Small saucepan (for heating heavy cream)
- Kitchen scale (optional but useful for precise measurements)
- Cake stand or serving platter
- Cooling racks
- Serrated knife or cake leveler
- Offset spatula or palette knife
- Piping bag with desired tip (optional for decorating)
- Candy thermometer (for Swiss meringue buttercream)
- Double boiler or heatproof bowl (for Swiss meringue buttercream)
Pairing Suggestions
Best served with:
- A strong espresso or orange-spiked hot chocolate
- A glass of Grand Marnier or Bailey’s for a boozy twist
- A side of whipped cream or vanilla ice cream
Make-Ahead and Freezing Tips
Oh, I say! You're one of those clever souls who plans ahead, are you? Jolly good! Here's how to stay ahead of the game, save some precious time, and still whip up a smashing Chocolate Orange Drip Cake that'll have your guests gobsmacked!
-
Cake Layers: Bake your cake layers in advance, you clever clogs! Once they've cooled, wrap them tightly in cling film and pop them in the freezer. They'll be fresh as a daisy for up to one month. When you're ready to use them, simply defrost the layers at room temperature for a couple of hours. Bob's your uncle!
-
Ganache: You can make the ganache up to three days in advance, and then store it in an airtight container in the fridge. Just remember to give it a good stir and let it come to room temperature before you start drizzling it all over your cake like a true artiste!
-
Leftover Cake: Did your guests have their fill and leave you with leftovers? Not to worry! Wrap individual slices tightly in cling film and freeze them for a cheeky treat later on. When the craving hits, just defrost at room temperature, and enjoy a spot of cake with your afternoon tea. How very civilized!
Scaling your Cake - smaller and bigger
When scaling a cake, most of the ingredients can be simply multiplied or divided. For this cake, I wouldn't recommend making a cake more than half its size or double, as it gets more complicated. When scaling a cake, most ingredients can be easily multiplied or divided by your ratio. Certain ingredients, however, need to be adjusted with more care:
Leavening Agents: When enlarging a cake, you may need to decrease the amount of leavening agents (baking powder, baking soda) used in the recipe. These dastardly agents can cause large cakes to rise too much, leading to a domed or cracked top. To avoid such unsightly results, consider reducing the leavening agents by a smidgen when scaling up.
Liquid Ingredients: The larger the cake, the more prone it is to drying out. One solution to this predicament is to slightly increase the proportion of liquid ingredients (milk, water, juice) to retain moisture in your gargantuan creation.
Oven Temperature and Baking Time: Remember, the rules of the oven kingdom change as your cake size expands. You may need to lower the oven temperature by a few degrees to ensure even baking. Furthermore, anticipate an increase in baking time, for a larger cake requires a longer stay in the oven's warm embrace.
Adaptations for Dietary Requirements
Ah, the minefield of dietary restrictions! Fear not, for with a few tweaks, this Chocolate Orange Drip Cake can be made to fit a variety of dietary needs. Here are some suggestions:
Gluten-free: Swap out the plain flour for a gluten-free flour blend, making sure to check that all other ingredients are gluten-free as well. You don't want to unwittingly invite gluten to the party!
Dairy-free: To make this cake dairy-free, you can use vegan butter and substitute the milk for a non-dairy milk of your choice. Almond, coconut or oat milk can all work beautifully in this recipe.
Vegan: If you're looking to make this cake completely vegan, the first step is to swap out the eggs. You can try using flax or chia seeds mixed with water as an egg replacer. Additionally, use vegan butter and non-dairy milk as suggested above.
Reduced sugar: If you're watching your sugar intake, you can reduce the amount of sugar in the recipe or use a sugar substitute. However, keep in mind that the chocolate and orange in this cake already contain some natural sugars.
Low-fat: To reduce the fat content, you can try using applesauce or mashed banana in place of some of the butter. You can also use low-fat milk or a non-dairy milk to further reduce the fat content.
And there you have it! With these adaptations, everyone at your gathering can indulge in a slice of this delectable Chocolate Orange Drip Cake without fear of any dietary faux pas.
Storage and Serving Guidelines
Congratulations! You’ve baked a scrumptious Chocolate Orange Drip Cake that's practically begging to be devoured. But before you chow down on your creation, you need to know how to store it properly.
Storage: The cake can be stored at room temperature, covered in plastic wrap or placed in an airtight container, for up to 3 days. If you want to keep it for longer, pop it in the fridge for up to a week or in the freezer for up to 2 months. Just make sure to wrap it tightly with multiple layers of plastic wrap and aluminum foil before freezing to avoid freezer burn.
Serving: This cake is best served at room temperature, so take it out of the fridge at least 30 minutes before serving. You can even warm it up a bit in the oven or microwave for a more decadent experience. For an extra flourish, garnish it with some orange zest, chopped nuts, or a dollop of whipped cream.
Now, if by some miraculous twist of fate you have leftovers, you can simply follow the same storage guidelines to enjoy it later. Just be warned, if you tell your friends and family about your leftover cake, you may find yourself with an unexpected crowd at your door. Enjoy!
Tips for Success
Ah, my dear friend! You're looking to create the perfect Chocolate Orange Drip Cake? Well, then, you've come to the right place! Here are some tips to ensure success:
-
Read the recipe thoroughly: This may seem obvious, but trust me, it's important. Make sure you've got all the ingredients and equipment before you begin. There's nothing worse than realizing halfway through that you're missing a key component, like chocolate. Gasp
-
Room temperature ingredients: To ensure a perfectly smooth batter, make sure all your ingredients are at room temperature before you start. Cold eggs and butter just won't do.
-
Chocolate: Ah, the star of the show. Be sure to use good quality chocolate for the best flavour. Don't skimp on this!
-
Mixing: When mixing the batter, be sure to do so slowly and thoroughly. Over-mixing can lead to a dense and tough cake. And no one wants that.
-
Drip technique: The drip technique is what makes this cake so visually stunning. Be patient and take your time when pouring the ganache over the cake. A steady hand is key.
-
Decoration: Have fun with the decoration! This cake is all about indulgence, so don't be shy. Add some orange slices, chocolate curls, or anything else that strikes your fancy.
Follow these tips, my friend, and you'll have a decadent Chocolate Orange Drip Cake that will have everyone begging for the recipe!
Flavour variations
If you fancy experimenting with different flavours or have some ingredients to use up, fear not! Here are some handy substitutions and variations for you to try out:
- Orange Extract: If you don't have fresh oranges on hand, try using orange extract instead. It provides a concentrated burst of citrus flavour without any added moisture.
- Dark Chocolate: If you prefer a more intense chocolate flavour, try using dark chocolate instead of milk chocolate. You could even go wild and use a flavoured dark chocolate, such as orange or mint.
- Nutty Goodness: To add a nutty twist, try folding chopped hazelnuts or almonds into the cake batter before baking. You could even sprinkle some on top of the frosting for added crunch.
- Boozy Boost: For an adult twist, add a splash of your favourite liqueur to the frosting or brush some on the cake layers before frosting. Amaretto or Grand Marnier would be excellent choices for complementing the orange flavour.
So, go ahead and get creative with your personalisation's and variations! Who knows, you may just discover a new favourite flavour combination.
FAQs
Q: Can I use milk chocolate instead of dark chocolate for this recipe? A: Of course you can, if you want to ruin the cake! Just kidding – you can absolutely use milk chocolate if you prefer a sweeter taste. Just keep in mind that it may affect the overall texture and richness of the cake.
Q: Can I substitute the orange for another fruit? A: Sure, if you want to make an abomination! Okay, we're kidding again (sort of). You can definitely experiment with different fruits to add a unique twist to the cake, but keep in mind that the orange is a crucial component of this recipe and its citrusy flavour complements the chocolate beautifully.
Q: Can I use margarine instead of butter? A: Technically, yes, but we highly recommend using butter for the best flavour and texture. Margarine contains more water than butter, which can affect the texture and moistness of the cake.
Q: Can I make this cake gluten-free? A: Absolutely! You can substitute the all-purpose flour for a gluten-free flour blend to make it suitable for those with gluten sensitivities or allergies. Just keep in mind that the texture and flavour may differ slightly.
Q: How do I prevent the cake from sticking to the pan? A: Ah, the eternal struggle of baking! To prevent the cake from sticking to the pan, make sure to generously grease the pan with butter or cooking spray and dust it with flour. You can also line the bottom of the pan with parchment paper for extra insurance.
Q: How long will the cake stay fresh? A: Honestly, we doubt it will last long enough for that to be an issue! But in case you have some self-control, the cake will stay fresh for up to 3-4 days if stored in an airtight container at room temperature, or up to a week if stored in the fridge. Just make sure to bring it back to room temperature before serving.
Troubleshooting
Ah, so you've hit a bit of a snag, have you? Fear not, dear baker! Here are some common issues and their solutions to ensure your Chocolate Orange Drip Cake is a smashing success:
Problem: Cake is dry and crumbly
Solution: It's possible that you may have overbaked the cake. To avoid this, try checking the cake a few minutes before the recommended baking time. You can also try adding a bit more liquid (like orange juice) to the batter to keep it moist and fluffy.
Problem: Drip glaze is too thick or won't pour smoothly
Solution: The drip glaze can be a bit tricky to get just right. If it's too thick, try adding a bit more liquid (like cream) until it reaches a pourable consistency. If it's too thin, try adding more confectioners' sugar to thicken it up. Also, make sure the cake is completely cool before pouring the glaze over it.
Problem: Cake is too dense or heavy
Solution: This could be due to overmixing the batter. Try to mix the batter until it's just combined, and avoid overmixing to keep the cake light and fluffy. Another tip is to make sure all of your ingredients (especially the eggs) are at room temperature before mixing the batter.
Problem: Cake is unevenly baked or sinking in the middle
Solution: This could be due to uneven oven temperatures or overmixing the batter. To avoid this, make sure your oven is properly calibrated and try rotating the cake halfway through baking to ensure even cooking. Additionally, be sure not to overmix the batter, which can cause it to sink in the middle.
Problem: Cake is sticking to the pan
Solution: To prevent this, make sure to properly grease and flour the cake pan before pouring in the batter. You can also try lining the bottom of the pan with parchment paper to help the cake release more easily.
Remember, baking is both an art and a science, and even the most experienced bakers can run into a few hiccups along the way. But with these troubleshooting tips, you'll be well on your way to creating a delicious Chocolate Orange Drip Cake that will impress all your guests!
Well, we've reached the end of our chocolate orange journey. You've braved the kitchen, conquered the batter, and emerged victorious with a delicious cake. I hope this recipe has brought some joy and sweetness into your life. Remember, baking is all about experimentation and fun, so don't be afraid to get creative with your chocolate orange cake. Whether you're a seasoned baker or a first-timer, this recipe is sure to impress your taste buds and your guests. So go ahead, indulge in a slice (or two) of this decadent dessert, and enjoy the rich flavours of chocolate and orange. And who knows, maybe one day you'll be writing your own rave review of this delectable treat. Happy baking!
Lots of love,
Reshmi xoxo



Christine
July 12, 2020
I’d like to make this as a celebration cake for my husbands birthday. I notice you have oil in the ingredients list what type of oil is best to use?