If you’re obsessed with getting that perfect, glossy ganache drip - congrats, you’ve just found your holy grail. This is the exact recipe we use in our London bakery, and it’s ridiculously easy. No grainy mess. No dull finish. Just pure, chocolatey perfection.
Technically, ganache is made with melted chocolate and cream. But for a drip cake, butter, rather than cream, gives a longer-lasting shine and a silkier finish. If you’re after that glossy, picture-perfect look - trust me, this is the way. 
Our team in our London bakery uses this recipe exclusively. Here is why our chocolate ganache drip recipe is the best:
- Shine - high butter content gives a beautiful glossy finish
- Flavour - dark chocolate is perfectly balanced with creamy butter with tempered sweetness and no bitterness
- Versatility - this ganache can be used to glaze eclairs, chilled and rolled into chocolate truffles, whipped into a frosting for cakes and filling for macarons

Here's the free printable download. And below it is the step-by-step with photos.
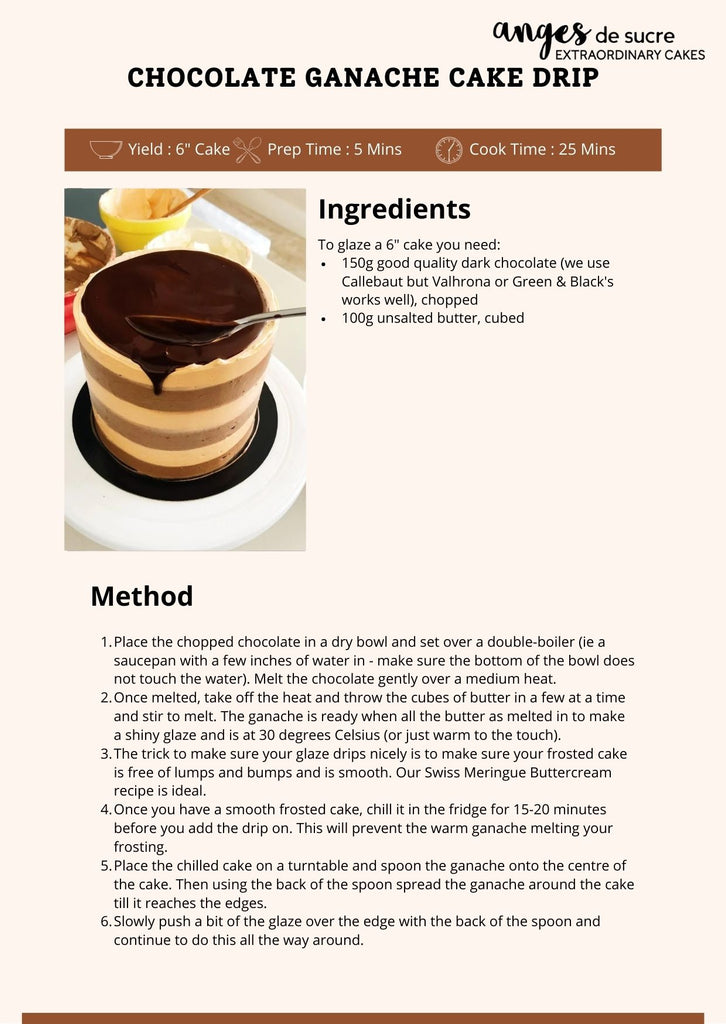
Recipe: Chocolate Ganache Drip Cake
Ingredients
To glaze a 6" cake you need:
150g good quality dark chocolate (we use Callebaut but Valhrona or Green & Black's works well), chopped
100g unsalted butter, cubed

Method
Place the chopped chocolate in a dry bowl and set over a double-boiler (ie a saucepan with a few inches of water in - make sure the bottom of the bowl does not touch the water). Melt the chocolate gently over a medium heat. Once melted, take off the heat and throw the cubes of butter in a few at a time and stir to melt. The ganache is ready when all the butter as melted in to make a shiny glaze and is at 30 degrees Celsius.
Smooth frosting = perfect drips. No lumps, no bumps. And if you don’t want a melty disaster, chill your cake for at least 15 minutes before glazing.

Drips need drama. Spoon ganache onto the center of your cake, then gently nudge it toward the edges with the back of your spoon - like you're teasing it over a cliff. Let gravity do the rest.


Troubleshooting Tips
- Drips turning dull? Use high-quality chocolate (no compound chocolate). Store your cake in a cool place, not the fridge - humidity kills the shine.
- Ganache splitting? Use an electric whisk or stick blender to emulsify the split ganache and bring the mixture together.
Tag me @angesdesucre - I LIVE for cake pics. If you absolutely nailed this drip, I wanna see it. If you failed? Still wanna see it (for science).


Lots of love,
Reshmi xoxo




Arianne
August 22, 2021
How do you get the amount of toppers to stay up on your cake? The weight of mine keep destroying the sides of my cake? Am I doing something wrong? Is there a trick?